


How to Fix Uneven Results When Using At-Home RF Devices?

Why RF Results Go Uneven: The Root Causes
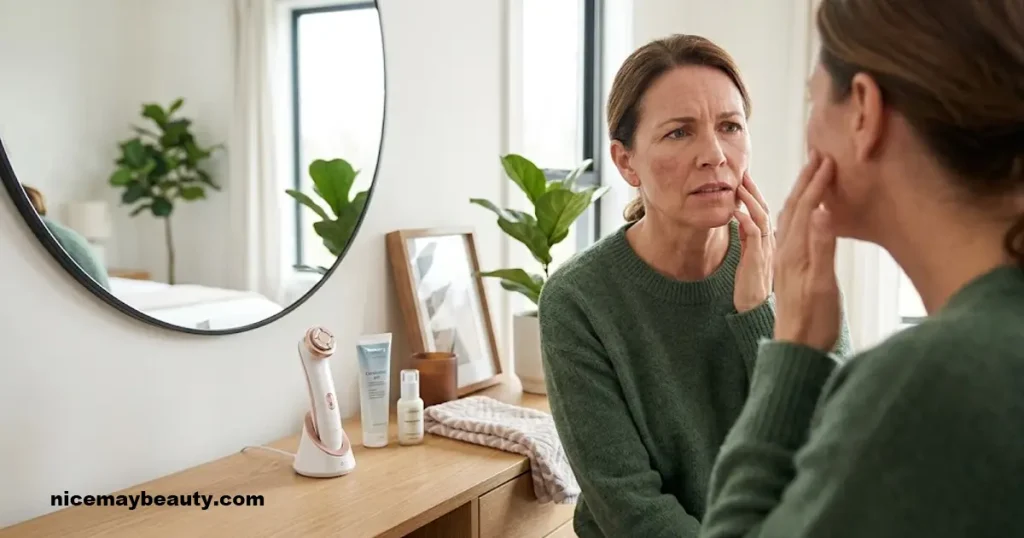
Radiofrequency devices work by delivering thermal energy into the dermis — ideally between 42–45°C — to stimulate fibroblast activity and new collagen synthesis. When results are patchy, one or more zones are receiving inconsistent energy. The three primary culprits:
- Insufficient or dried-out conductive gel — radio waves can’t transmit through air gaps or dry patches, causing “dead zones” of near-zero energy delivery
- Device tilt or incomplete contact — if any electrode pole lifts even slightly, current concentration spikes at the contact point, creating hot spots (>45°C) and under-treating adjacent areas
- Asymmetric treatment time — spending 90 seconds on your right cheek and 60 seconds on your left is enough to produce visibly uneven collagen response after 4–6 weeks
A common mistake I see too often is users focusing intuitively on one side of their face — the side they’re better at treating — and unconsciously rushing the other. After 8–10 sessions this asymmetry becomes noticeable in photos.
Step 1: Refine Your Movement Technique

Keep the Device Moving at All Times
Never let the device rest stationary on skin. At standard consumer power levels (typically 3–5 watts output for home RF), a stationary device can elevate local skin temperature past the safe threshold in under 10 seconds, causing micro-inflammation that paradoxically increases puffiness rather than tightening.
사용 slow, overlapping passes — either circular motions (3–4 cm diameter circles) or linear strokes moving from the center of the face outward along natural lifting vectors. Each pass should take 3–5 seconds to complete, and consecutive passes should overlap by approximately 30%.
Maintain Full Electrode Contact
Flat-head RF devices have multiple emission points across the treatment surface. Tilting the device even 15–20 degrees concentrates energy on the leading edge. Always apply firm, even pressure so the entire head sits flush against skin.
Use Your Free Hand to Flatten Treatment Areas
For curved areas — nasolabial folds, jawline, neck — your free hand is a legitimate technique tool. Gently pull skin taut upward or outward to create a flat treatment plane. This ensures uniform electrode contact and more consistent energy penetration depth.
Step 2: Prepare Your Skin Correctly

Start with a Bare, Oil-Free Face
Any product on the skin — serum, moisturizer, oil — acts as an insulating barrier that disrupts RF wave transmission. Even a thin residue of micellar water can cause inconsistent penetration. Cleanse with a gentle, oil-free cleanser and pat completely dry before applying gel.
Do not skip this: users who treat over “mostly clean” skin often see dramatically worse symmetry than those who double-cleanse first.
Apply Conductive Gel Generously and Refresh It
Water-based conductive gel is non-negotiable. Without it, RF energy cannot couple efficiently from the device electrode into skin tissue, leading to spotty delivery and potential surface irritation. Apply a generous, even layer — approximately 1–2 mm thick — across the entire treatment zone before you begin.
As you work, the gel dries. Most sessions require at least one reapplication mid-treatment. If you see the gel becoming tacky or streaky, stop and add more before continuing. Treating over partially dry gel is one of the top causes of patchiness reported in clinical use of home RF systems.
Step 3: Dial In Your Settings and Session Structure

Start at the Lowest Intensity, Especially on New Zones
Consumer RF devices typically offer 3–5 intensity levels. The correct sensation is deep, diffuse warmth — not a sharp, stinging heat. If you feel a pinpoint sting rather than a broad warmth, the device is either dry of gel, tilted, or set too high. Drop back one intensity level and add gel. For new users or when treating a new facial zone for the first time, always begin at Level 1 regardless of how you feel on other areas. Individual skin thickness varies considerably across the face — forehead skin averages 1.5–2 mm thick while eyelid skin can be as thin as 0.5 mm — meaning the same setting delivers very different energy density in different zones.Follow Anatomical Lifting Vectors
The most effective RF technique follows the face’s natural lift vectors rather than treating in a grid pattern:| 존 | Recommended Direction |
|---|---|
| 볼 | Diagonal upward, toward temple |
| Jawline | Upward and back, toward ear |
| 코주름 | Outward and up along the fold |
| 목 | Upward strokes, start at collarbone |
| Forehead | Upward strokes toward hairline |
Treating along these vectors rather than horizontal strokes produces more visible lifting and ensures symmetrical treatment on each side.
Track Time Symmetrically
Use a timer. Spend the exact same duration on symmetrical zones: if your left cheek gets 3 minutes, the right cheek gets 3 minutes. This sounds obvious, but without a timer most users have a 20–30% time discrepancy between sides after just a few weeks of sessions.
Stick to Recommended Frequency — Don’t Overdo It
Most at-home RF devices are designed for 주 2~3회. Exceeding this doesn’t accelerate collagen production — it triggers cumulative inflammation that causes uneven swelling and can temporarily make skin appear looser, masking your actual progress. Research on collagen remodeling confirms that the remodeling cycle takes 4–6 weeks; more frequent treatment interferes with this cycle rather than shortening it.
For a deeper breakdown of optimal timing and scheduling, see 피부 탄력 장치를 사용하기에 가장 좋은 시간과 빈도 — it covers session spacing, time of day, and how to sync your routine with your skin’s repair cycle.
Step 4: Post-Treatment Care That Affects Uniformity

Hydrate Immediately and Protect the Barrier
RF temporarily opens the skin barrier and increases transdermal water loss. Apply a fragrance-free hyaluronic acid serum or moisturizer immediately after wiping off the gel. HA in its low-molecular-weight form (under 50 kDa) penetrates post-RF skin more effectively and helps maintain the hydration needed for even collagen synthesis.
Avoid Active Ingredients for 24–48 Hours
Post-RF skin is more permeable — which sounds beneficial, but it also means actives penetrate deeper and can cause irritation. Avoid retinoids (retinol, tretinoin), AHA/BHA exfoliants, and vitamin C in high concentrations for 48 hours post-treatment. Using a retinol the night after RF treatment can cause uneven redness that’s easy to misidentify as an uneven treatment result.
Apply SPF Without Exception
RF increases temporary photosensitivity. UV exposure in the 24 hours following treatment can trigger post-inflammatory hyperpigmentation — particularly on areas of the face that received more energy — creating the appearance of uneven results when the underlying cause is sun exposure.
Combine RF With Microcurrent for Faster, More Even Results
One underutilized strategy for addressing uneven RF outcomes is combining RF sessions with a 가 무엇인지. 마이크로커런트 기기 to improve muscular tone and lymphatic drainage — both of which directly affect how evenly skin tightening is visible.
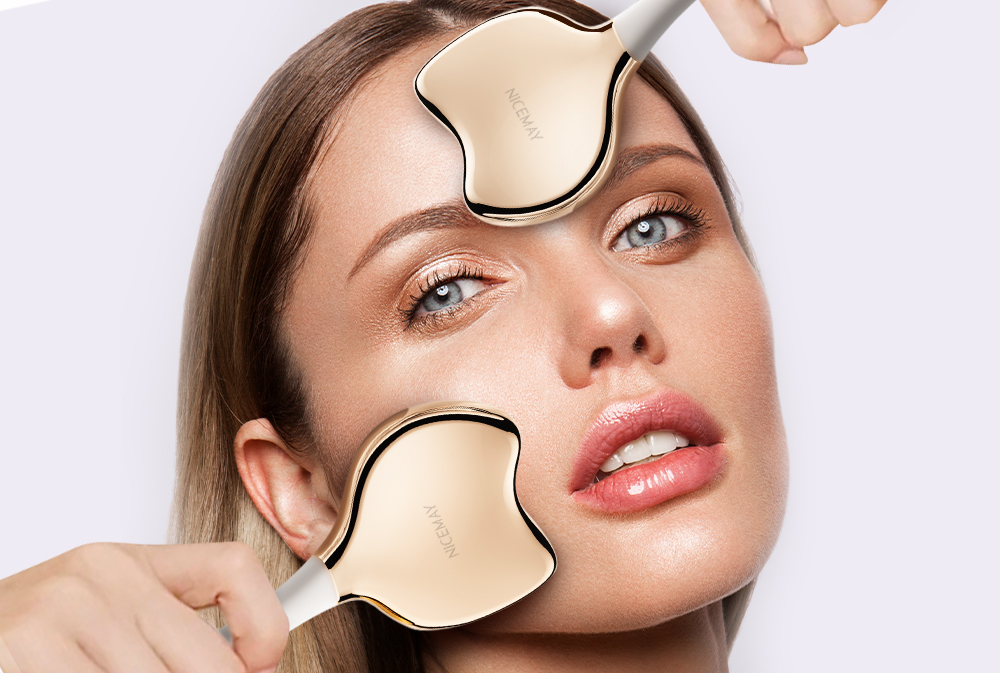
식품의약품안전청(FDA) NICEMAY MR-2370 마이크로커런트 LED 타이트닝 & 조각 기기 is a strong complementary tool for RF users. It delivers microcurrent stimulation alongside LED light therapy, targeting the muscular and circulatory layer beneath the skin. On days between RF sessions, using a microcurrent device helps:
- Reduce asymmetric puffiness or swelling that can mask RF results
- Improve lymphatic drainage for a more even skin surface
- Maintain muscle tone that “holds” the tightening effect RF creates in the dermis
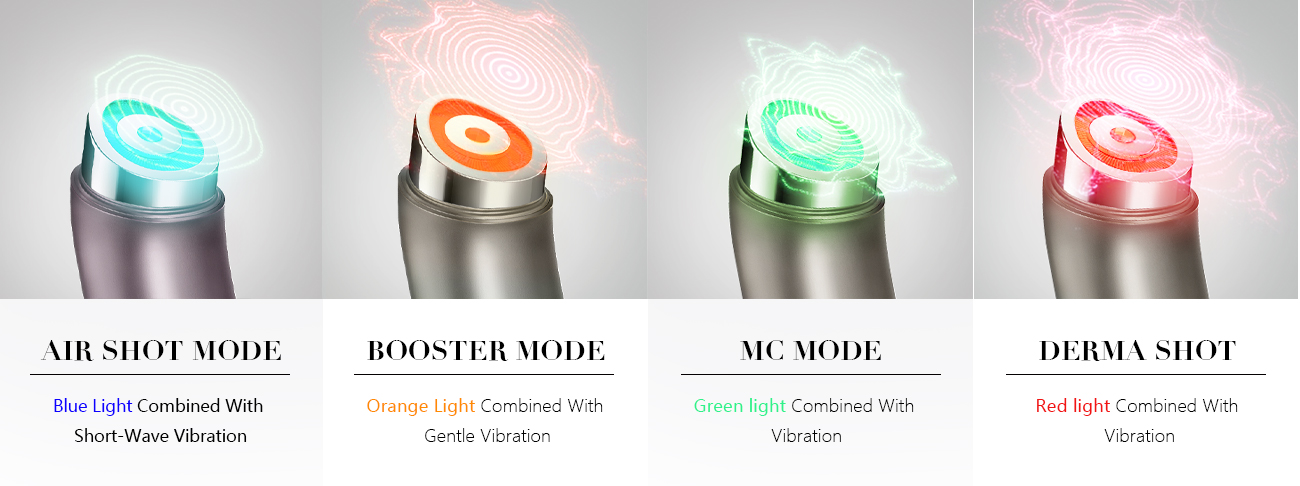
The device’s LED component adds photobiomodulation benefits (red light at 630–660 nm range stimulates fibroblast activity), making it a genuinely complementary protocol rather than a redundant one. USB charging and a compact design make it practical for daily use between RF sessions.
Choosing the Right RF Device Also Prevents Uneven Results
Many users discover mid-routine that their device lacks features that make even treatment possible. Key specs to verify before purchasing:
- Auto-shutoff at 45°C — prevents hot spots from stationary use
- Multi-polar vs monopolar design — multi-polar RF is significantly more controllable for at-home use
- 조절 가능한 강도 수준 — minimum 3 levels to accommodate different facial zones
- 인체공학적 그립감 for one-handed operation (freeing the other hand to stretch skin)
For a complete breakdown of what separates effective at-home RF devices from underperformers, read What to Look for in an At-Home RF Skin Tightening Device in 2026 — including the specifications that matter for safety clearance and realistic results timelines.
Quick-Reference Troubleshooting Table
| 증상 | Most Likely Cause | 수정 |
|---|---|---|
| One cheek tighter than other | Asymmetric session time | Use timer; track each zone equally |
| Hot spots / stinging | Device tilted or no gel | Flatten device; reapply gel |
| 전혀 감각 없음 | Gel too dry / setting too low | Add fresh gel; increase one level |
| Uneven redness after session | Active ingredients used post-RF | Skip retinol/acids for 48 hrs |
| Results plateau after 4 weeks | Overuse causing inflammation | Reduce to 2x/week; observe for 2 weeks |
FAQs About How to Fix Uneven Results When Using At-Home RF Devices
How long before uneven RF results correct themselves once I fix my technique?
Can I use conductive gel substitutes like aloe vera gel or water?
My device feels hotter on one side of my face. Is the device faulty?
Is it safe to use RF devices around the jawline and neck area?
Should I use RF before or after my skincare routine?
양식에 이메일을 입력해 주시면 곧 도움을 드리겠습니다!