


How to Clean a Silicone Face Scrubber – Step-by-Step Guide


Daily Maintenance: The 60-Second Post-Use Routine
Consistency at the daily level is what keeps weekly deep-cleans manageable and prevents the kind of buildup that requires genuinely harsh interventions. This routine takes under 60 seconds and should happen immediately after every use — before the residue has a chance to dry and adhere.
Step 1: Rinse Under Warm Running Water (15–20 Seconds)
Hold the bristle face of the scrubber directly under warm running water — the target temperature here is 35–40°C (95–104°F), which is warm enough to effectively rinse away emulsified oils and loosened skin debris but cool enough not to begin thermally degrading the silicone. Many people use hot water in the belief that it sanitizes better; in reality, true thermal sterilization of silicone requires sustained temperatures above 121°C (250°F) — completely unachievable from a tap. Hot tap water (above 60°C / 140°F) provides minimal additional antimicrobial benefit while accelerating silicone surface oxidation over months of repeated exposure.
While rinsing, use your thumb to gently sweep across the bristle surface in the direction opposite to the bristle orientation. This mechanical action is what actually dislodges particulate matter; the water temperature alone is insufficient.
Step 2: Optional Quick Lather (For Post-Makeup Use)
On days when you’ve used the scrubber to cleanse over a base of sunscreen, SPF tinted moisturizer, or light makeup, a 10-second lather with one drop of your regular facial cleanser will emulsify any lipophilic residue that water alone won’t remove. Work it in with your fingers, then rinse for an additional 10 seconds.
Step 3: Remove Excess Water and Air Dry
Gently shake the scrubber 2–3 times to shed standing water from between bristles, or give a light squeeze if it’s a pad-style tool. Then place it bristle-side down on a clean, dry surface — or hang it via its loop if it has one — in a location with reasonable airflow. The most common mistake here: leaving the scrubber sitting cup-side up on a wet shower shelf, where the bristle face pools water and dries slowly in a humid, enclosed environment.
A damp silicone surface in a 20–30°C bathroom can reach detectable mold spore germination conditions within 6–8 hours. Air circulation — even from a bathroom exhaust fan — reduces surface drying time from 2–3 hours to under 45 minutes, which decisively prevents fungal growth.
Weekly Deep Clean: The Complete Sanitization Protocol
The weekly deep clean is what resets your scrubber to a genuinely hygienic baseline. Done properly, it removes accumulated biofilm that daily rinsing leaves behind and restores the original tactile performance of the bristles. Schedule this once every 7 days, or after any use during illness.
Step 1: Prepare Your Cleaning Solution
Fill a small, clean bowl with warm water (again, 35–40°C). Add 3–4 drops of either a mild, fragrance-free facial cleanser or a clear, fragrance-free dish soap. Avoid dish soaps with added moisturizers (like those containing glycerin or lanolin) as these leave a surfactant film on the silicone that feels slippery and may irritate sensitive skin on the next use.
Why dish soap works well here: the surfactant formulations in quality dish soaps — typically sodium lauryl sulfate or methylisothiazolinone-free alternatives — are specifically engineered to break down lipid bonds, making them effective at emulsifying sebum and cosmetic wax residues that facial cleansers are sometimes too gentle to fully address.
Step 2: Soak for 10–15 Minutes
<p”>Submerge the scrubber head completely and leave it undisturbed for 10–15 minutes. This dwell time is the key variable most people skip. The surfactant solution needs sustained contact to penetrate the full depth of bristle channels and begin breaking down dried-on organic material at the base of the bristle clusters. A 2-minute soak is largely ineffective for anything beyond surface residue.
For motorized brush heads that have been detached from the handle, this submersion step is fully safe — the silicone head itself contains no electronics and can soak indefinitely.
Step 3: Mechanical Scrubbing
This is the step that separates a superficial clean from a real one. Remove the scrubber from the soak and use your fingertips to firmly massage the entire bristle surface in circular motions for 30–45 seconds. Use a fingernail or a soft toothbrush to specifically work through any tight crevices, the perimeter seam of the scrubber face, and the back surface — areas where sebum tends to visibly accumulate as a whitish, waxy film.
If you observe a milky or pale yellow discoloration in the water after this step, that’s sebum and product residue that’s been successfully removed. It’s a reliable indicator that your soak time and scrubbing technique were adequate.
Step 4: Sanitize with White Vinegar Solution (Optional but Recommended Monthly)
For routine weekly cleaning, the soap soak and mechanical scrub is sufficient. However, every 2–4 weeks — or any time you’ve had a skin infection, illness, or prolonged gap in cleaning — add a vinegar sanitization step.
Prepare a fresh bowl with a 3:1 ratio of water to white distilled vinegar (approximately 250ml water to 85ml vinegar). Submerge the scrubber for 5–10 minutes. White vinegar’s active antimicrobial compound, acetic acid, achieves meaningful bacteriostatic and fungistatic activity at concentrations of 4–8% — which is precisely what the 3:1 dilution produces from standard 5%-acid commercial vinegar.
Important: do not increase the vinegar concentration above a 1:1 ratio in the belief that more is better. At concentrations above 10% acetic acid, prolonged exposure (15+ minutes) can begin to cause micro-surface etching on softer silicone formulations, dulling the finish and gradually increasing the surface’s ability to trap particulates — the opposite of what you want.
Step 5: Final Rinse
Rinse under warm running water for a full 20–30 seconds, turning the scrubber to ensure all surfaces are flushed. Run your thumb across the bristles during the rinse — they should feel smooth and slightly squeaky-clean, with no soapy slip or vinegar sharpness. If you detect either, continue rinsing.
Step 6: Dry Thoroughly Before Storage
Pat the scrubber with a clean, lint-free towel to remove surface moisture from the bristle tips and main body. Then allow it to air dry completely — this typically takes 1–2 hours on a clean dry surface in a ventilated room — before storing. Never store a damp silicone scrubber in a closed makeup bag, sealed container, or drawer. The absence of airflow in an enclosed space with residual moisture is one of the most reliable conditions for mold initiation.
How to Know When to Replace Your Silicone Face Scrubber
Even with perfect cleaning discipline, silicone face scrubbers have a finite effective lifespan. Unlike the “replace every 3 months” guidance that’s commonly repeated without qualification, the actual replacement timeline depends on usage frequency and care quality.
Signs it’s time to replace:
- Bristles that were originally flexible and springy now feel stiff, splayed, or clumped — this indicates thermal or chemical degradation of the silicone crosslink structure
- Visible surface discoloration (yellowing, grey staining) that doesn’t clear after a vinegar soak — this is oxidized sebum and lipid residue that has chemically bonded to the surface
- An odor that persists after the weekly clean — this indicates deep biofilm colonization that surface cleaning can no longer address
- Tactile stickiness on the bristle surface when dry — a sign of silicone surface depolymerization
- Any visible cracking, tearing, or deformation of the body or bristles
F
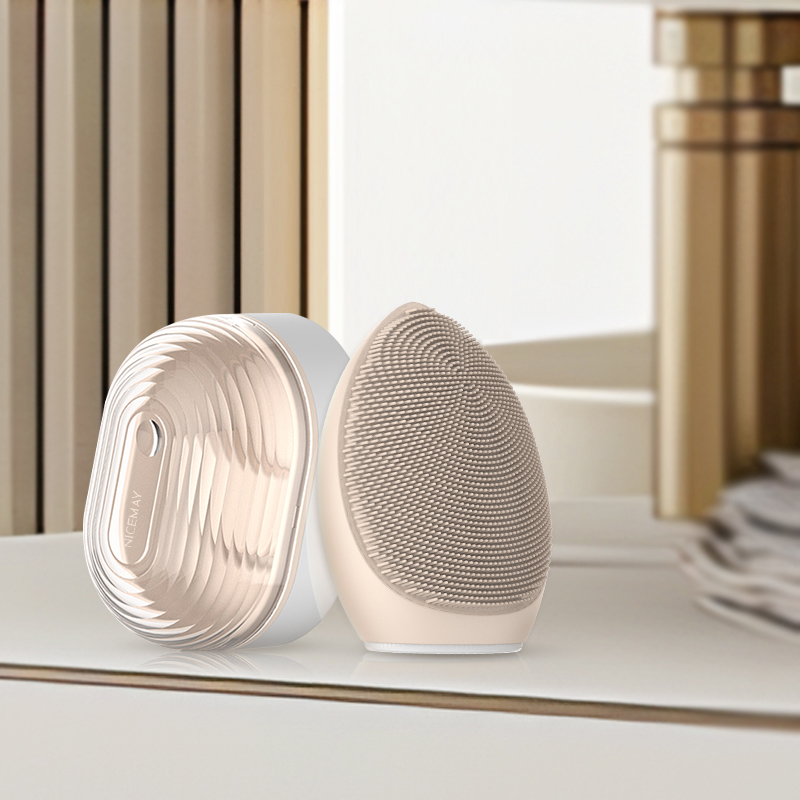
or daily users following the complete cleaning protocol outlined here, a quality silicone scrubber typically maintains its integrity for 4–6 months. Budget tools made with lower-grade silicone blends often show degradation signs at 6–10 weeks of daily use — a meaningful difference in cost-per-use analysis. If you’re looking to upgrade to a tool specifically designed for longevity and thorough cleaning, the NICEMAY Silicone Facial Cleansing Brush is worth evaluating — its detachable head design means you replace only the brush component rather than the entire device, extending the practical life of your investment significantly.
Conclusion: Three Takeaways for Genuinely Clean Skin
The most important insight from this guide is this: silicone face scrubbers only deliver on their cleansing promise when the tool itself is cleaner than your skin. A contaminated scrubber isn’t neutral — it’s actively working against your skincare goals with every use.
The three most actionable commitments from everything above:
1. Make air drying non-negotiable after every use. Preventing moisture accumulation is the single highest-leverage daily habit for tool hygiene. Keep it bristle-side down, away from enclosed humid spaces, every time.
2. Schedule weekly deep cleans on a fixed day — don’t wait for visual triggers. By the time buildup is visible, you’re already 5–7 days overdue. A 15-minute soak once a week takes less time than a single face mask session.
3. Match your tool quality to your cleaning commitment. A well-designed scrubber with detachable heads — like the NICEMAY Silicone Facial Cleansing Brush — makes thorough cleaning easier and extends the device’s effective lifespan, ultimately lowering cost-per-use while maintaining consistent results.
If you’re just starting to build your cleansing routine or want to understand the full landscape of tool options, explore our in-depth comparison guide [The Top 10 Silicone Facial Cleansing Brushes for Sensitive Skin of 2026] and our comprehensive overview [All You Need to Know About Silicone Facial Cleansing Brushes] before making your next investment. Your skin’s results are only as consistent as the tools delivering them — and those tools are only as effective as the care you give them.


Please fill in your email in the form and we’ll get back to assist you soon!