


How to Do a Full Face Lymphatic Drainage Routine with Beauty Devices?

You wake up puffy-faced, your jawline looks softer than it did last month, and your usual skincare routine isn’t cutting it anymore. Sound familiar? Stagnant lymphatic fluid is one of the most overlooked causes of facial bloating, dullness, and loss of definition. The good news: a targeted full-face lymphatic drainage routine using the right beauty devices can make a visible difference in under 10 minutes, without a single trip to a spa.
This guide cuts through the noise and gives you a precise, device-specific protocol — covering tool selection, exact technique, pressure thresholds, and the most common mistakes that stall results.

Why Lymphatic Drainage Belongs in Your Beauty Device Routine?
The lymphatic system is a one-way drainage network with no pump of its own — it relies entirely on movement and pressure to clear waste. In the face, lymph nodes cluster at the submental area (under the chin), preauricular area (in front of the ears), and deep cervical chain (along the neck). When this flow slows — due to poor sleep, high sodium intake, sedentary habits, or simply aging — you get the visible hallmarks: morning puffiness, under-eye bags, a softened jawline, and a flat complexion.
Manual lymphatic drainage (MLD), the clinical gold standard developed by Dr. Emil Vodder in the 1930s, uses pressure as light as 30–40 mmHg — roughly the weight of a nickel — applied in slow, rhythmic strokes. At-home beauty devices replicate this when used correctly. Studies published in the Journal of Cosmetic Dermatology have shown that consistent manual lymphatic stimulation reduces facial edema measurably within 4 weeks of daily use. The key word is consistent: one session delivers temporary relief; a daily 8–10 minute protocol delivers structural change.
What I’ve consistently seen working with clients is that the biggest gap isn’t motivation — it’s not knowing which device to use for which outcome, and applying the wrong pressure. This guide fixes both.
Choosing the Right Beauty Device for Lymphatic Drainage
Not all beauty devices stimulate lymphatic flow equally. Here’s how the four most common tools compare on the metrics that matter:
| Device | Mechanism | Drainage Efficacy | Best For | Learning Curve |
|---|---|---|---|---|
| Jade / Rose Quartz Roller | Manual rolling pressure | Moderate | Daily maintenance, beginners | Low |
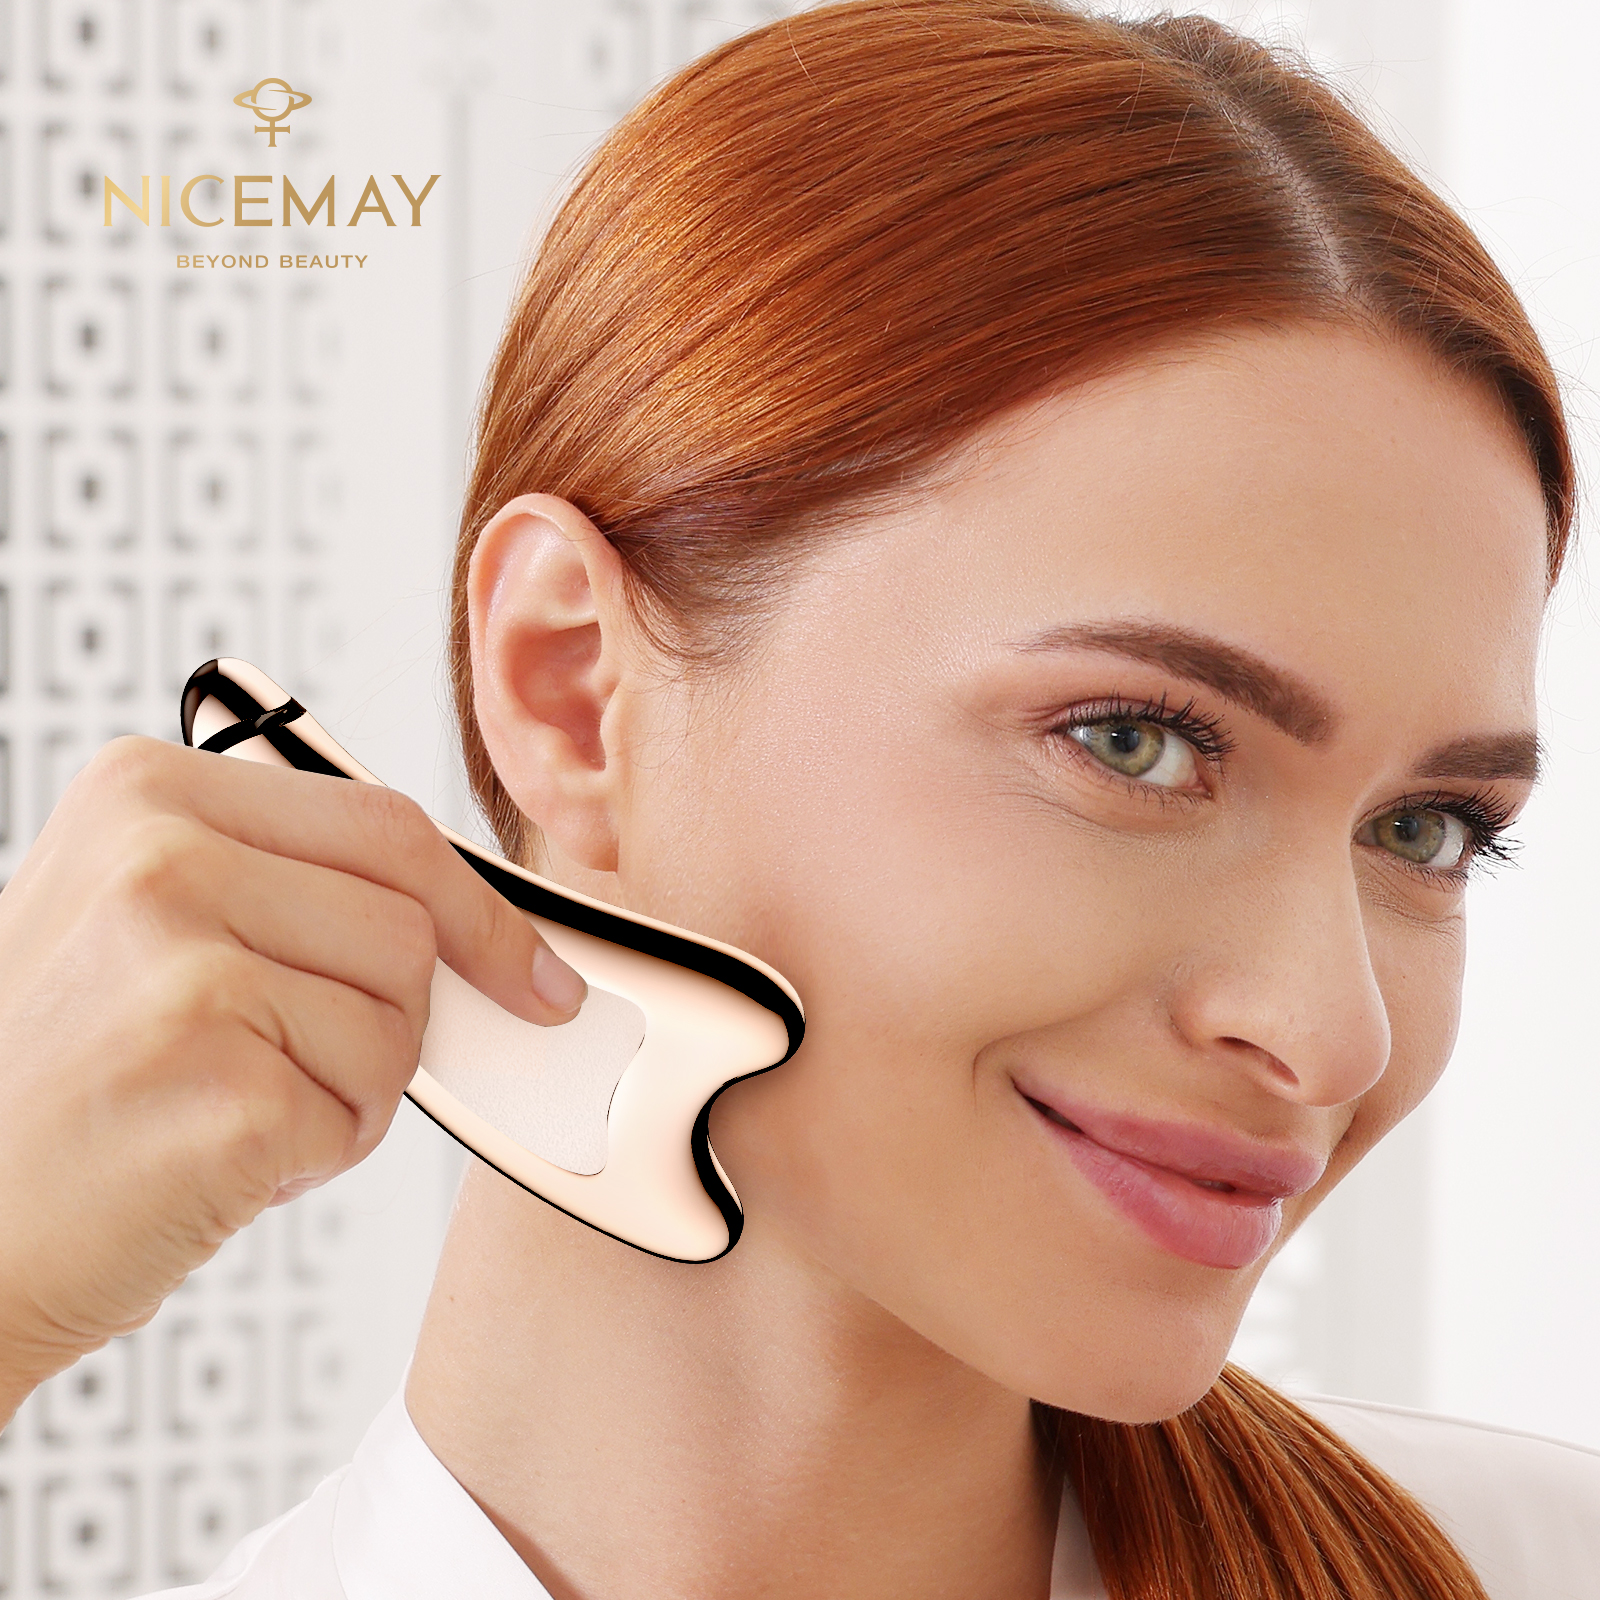
| Gua Sha Stone | Scraping + edge pressure | Moderate–High | Contouring + drainage | Medium |
| Microcurrent Device | Biphasic electrical current (200–400 μA) | High (also tones muscles) | Lift + drainage combined | Medium |
| Multi-Action Facial Device | Combines EMS, RF, LED, microcurrent | Very High | Advanced anti-aging + drainage | Medium–High |
The Case for a Multi-Action Device
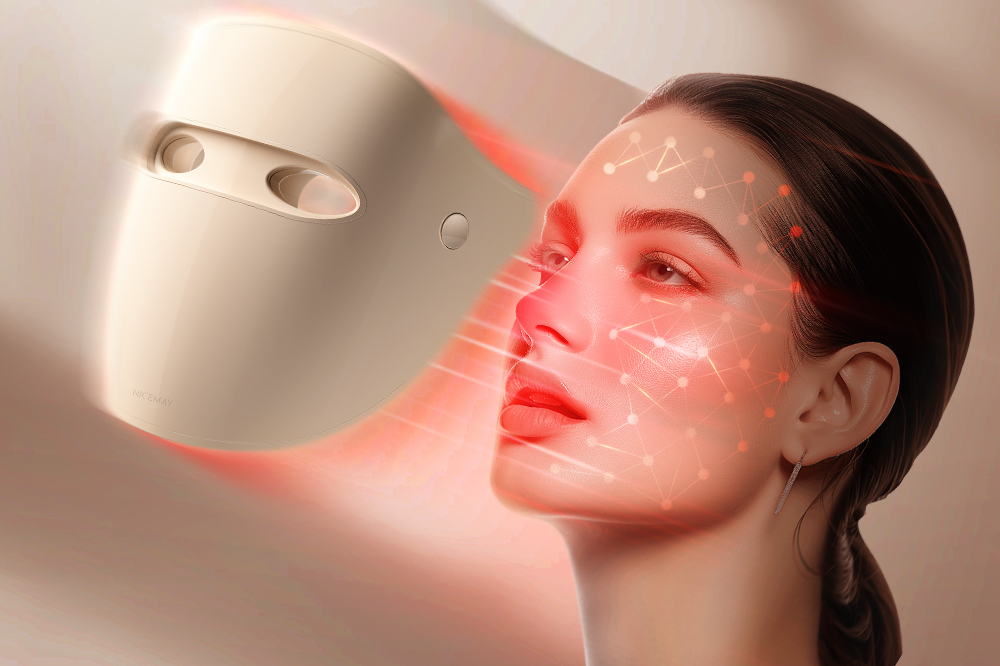
For readers serious about long-term results, a multi-action device that combines EMS (Electrical Muscle Stimulation), radiofrequency (RF), microcurrent, and LED therapy in one unit offers a meaningful upgrade over standalone rollers. A device like the NICEMAY MR-2590 LumiLift Pro Multi-Action Facial Device integrates these modalities so you can perform lymphatic drainage strokes while simultaneously delivering electrical stimulation to the underlying muscle — compressing two goals (drainage + tone) into one session. Its adjustable microcurrent output lets you dial intensity according to skin sensitivity, which is critical for avoiding overstimulation (more on that below).
For beginners, a quality gua sha or facial roller is a perfectly effective starting point — the technique is the same, and mastering light pressure with a passive tool before graduating to an electrical device is genuinely good practice.

What You Need Before You Start: Prep Protocol
Step 1 — Product Selection (This Is Not Optional)
Dry-dragging a device across your face is the single most common mistake I see — it creates friction, pulls the skin, and can cause micro-tears on thinner areas like the under-eye. You need a slip medium appropriate to your device type:
- Jade roller / Gua sha: A facial oil with low comedogenic rating (0–1). Rosehip oil, squalane, or a jojoba blend. Apply 4–6 drops and press — don’t rub — into the skin.
- Microcurrent / EMS / multi-action devices: Always use a dedicated water-based conductive gel, not oil. Oil disrupts electrical conductivity and drastically reduces treatment efficacy. Some devices require their proprietary gel — check your manual.
- LED-only devices: Clean, dry skin. No product needed or desired as it can block wavelength penetration.
Step 2 — Cleanse and Temperature Prime
Cleanse your face thoroughly. For enhanced results, apply a warm damp towel for 60 seconds before starting. Warmth dilates superficial capillaries and loosens the fascia slightly, improving tool glide and lymph flow. Some practitioners advocate a cold finish (10 seconds of cold water or an ice globe), but for lymphatic drainage specifically, warmth at the start is more important than cold at the finish.
Step 3 — Open the Drainage Pathways First
This step is non-negotiable and almost always skipped by beginners. Before touching your face, you must “open” the downstream lymph nodes — otherwise you’re pushing fluid into a closed drain.
- Place two or three fingers (or the flat side of your device) at the sides of your neck, just below the earlobes.
- Apply feather-light pressure and stroke downward toward the collarbone 5–8 times on each side.
- Then use gentle circular pumping motions (about 1 cm diameter) at the collarbone notch, 5 times.
Clinical lymphedema therapists call this the “proximal clearance” step. Think of it as unclogging the sink before running the tap.

Full Face Lymphatic Drainage Routine: Step-by-Step Device Protocol
Perform each zone 3–5 repetitions per side unless noted. Always move outward from center → toward the ear → then downward toward the neck. Pressure: if you can feel your cheekbone pressing back, you’re already too heavy. Aim for surface-level skin movement only.
Zone 1 — Jaw and Chin
- Position: Notched edge of gua sha or larger end of roller at the center of your chin.
- Stroke: Glide outward along the jawline to the soft depression just in front of the earlobe. This targets the submental and preauricular nodes.
- Repeat: 3–5 strokes per side. On microcurrent/EMS devices, hold at the end of each stroke for 2 seconds near the earlobe for a mild lift effect.
Zone 2 — Cheeks
- Position: Flat side of device just beside the nose, below the cheekbone.
- Stroke: Horizontal sweep across the cheek and over the cheekbone toward the ear. For gua sha, a 45° angle maximizes contact with the zygomaticus major — the key contour muscle.
- Repeat: 4–5 strokes per side. This zone carries the heaviest fluid volume in most clients.
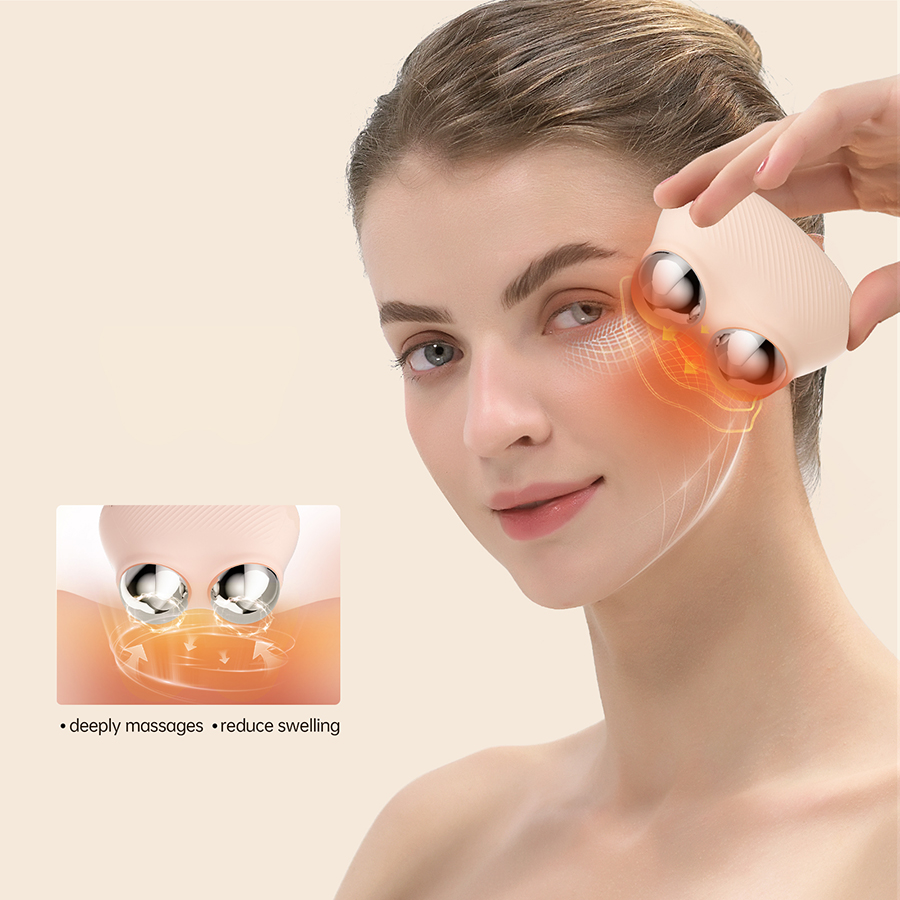
Zone 3 — Under-Eye Area
⚠️ Critical note: The periorbital skin is the thinnest on the face (0.5 mm vs 2 mm on the cheek) and the lymph capillaries are superficial. Use only the small end of a roller or the flat back of a gua sha. Pressure here should be 60–70% lighter than on the cheeks.
- Position: Inner corner of the under-eye, just above the orbital bone rim.
- Stroke: Glide outward toward the temple, staying just below the lash line. Never drag inward — this direction opposes the drainage gradient.
- Repeat: 3–4 strokes. For microcurrent devices, reduce intensity by one level for this zone.
Zone 4 — Forehead
- Position: Center of the forehead, between the eyebrows.
- Stroke: Sweep outward to the temples and then arc slightly downward. The forehead has fewer nodes than the lower face, so drainage here is about de-puffing and improving circulation to the frontalis muscle.
- Repeat: 3–4 strokes per side. This is a good zone for a final LED pass if your device includes 630nm red light, which stimulates fibroblast activity at this typically dehydrated zone.
Zone 5 — The Final Drain (Do Not Skip This)
This is the most important step — and the one most tutorials omit. Without it, you’ve stimulated fluid movement without completing the circuit.
- From behind the ear: Place the edge of your device just behind the earlobe.
- Stroke down the SCM muscle: Glide slowly down the sternocleidomastoid (the long muscle running from ear to collarbone) to the clavicle notch. This is the major draining artery of the facial lymphatic system.
- Repeat: 5–6 strokes on each side. Conclude with 3 gentle collarbone pumping circles.

Pressure, Technique, and the Mistakes That Stall Results
Lymphatic capillaries sit just 0.1–0.3 mm below the skin surface. They are ultra-thin, one-cell-thick vessels that collapse under excessive pressure — meaning pressing too hard literally closes the drain you’re trying to open. The correct pressure for lymphatic drainage is 30–40 mmHg, equivalent to the weight of a large coin placed on your skin. Your skin should move, not the tissue beneath it.
A useful self-check: press your thumb gently on your inner forearm. If you see a white imprint when you lift it, that’s approximately correct pressure. If the skin turns red within 2 seconds, you’re pressing roughly 3× too hard.
Speed: Slow Wins Every Time
Move your device at approximately 2–3 cm per second — about the speed of a slow sweep of a windshield wiper. Faster strokes generate heat and stimulate the vascular system (increasing redness) rather than the lymphatic system. Many people instinctively speed up when they don’t see immediate results, which is counterproductive.
Frequency: More Often, Not Longer
A 7–10 minute daily session outperforms a 30-minute weekly session for lymphatic drainage. This matches the tissue remodeling cycle of the lymphatic endothelium. In my experience working with clients on anti-aging protocols, consistent daily use for 21 days is the minimum threshold before visible jawline definition changes become stable — not just post-session temporary improvement.
For microcurrent and EMS devices, the standard recommendation from most device manufacturers is 5 sessions in the first 2 weeks, then 2–3 sessions per week for maintenance. Exceeding this for EMS devices can cause muscle fatigue and paradoxically worsen tone temporarily — similar to overtraining in the gym. See our guide on Microcurrent vs. Facial Yoga: Which Gives Better Face-lifting Results? for a deeper breakdown of current types and their lifting mechanisms.
What Not to Do: Common Failure Modes
- Upward strokes on the lower face: Appealing in theory (“lifting”), but they fight the drainage gradient. Always stroke outward and downward from center.
- Skipping the neck drain: Moving fluid from cheeks to ears without continuing down the neck traps it — leading to a more congested appearance 2 hours later.
- Using acidic actives immediately before: AHAs, BHAs, or retinol increase skin permeability. Using a device within 24–48 hours of a fresh exfoliation session increases irritation risk, particularly with microcurrent.
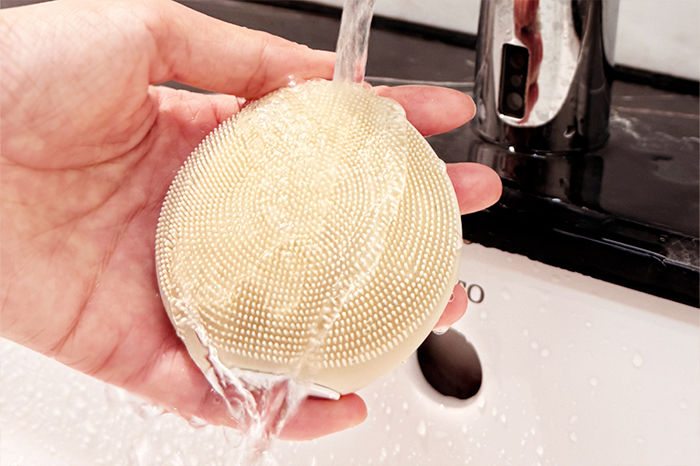
- Dirty tools: Contaminated devices reintroduce bacteria into microchannels opened by device action, causing breakouts. Clean with 70% isopropyl alcohol before and after every session.
Microcurrent Devices: Optimizing the Protocol for Drainage + Lift
When adding a microcurrent or multi-action electrical device to this protocol, the same directional pathways apply — but with two important modifications that dramatically improve outcomes:
Modification 1 — Hold Points for Lift Amplification
At the end of each stroke, pause for 3–5 seconds at specific anatomical points: the angle of the jaw (for jawline definition), the zygomatic arch (cheekbone lift), and the orbital rim (under-eye firmness). This “static hold” allows the biphasic current — ideally in the range of 150–350 μA at 0.1–1.0 Hz — to drive ATP production in the underlying muscle fibers, which is the mechanism behind lasting microcurrent lift effects.
Modification 2 — Conductive Gel Is Non-Negotiable
Microcurrent requires a water-based medium to complete the electrical circuit between the device heads and your skin. Resistance at the skin surface drops from ~20,000 ohms (dry) to ~1,000–3,000 ohms with proper gel. Without it, up to 80% of the device’s current is dissipated as surface heat rather than penetrating to the target muscle layer. This explains why many users report “not feeling anything” — the device is working, but the signal isn’t reaching the muscle.
If you’re building a time-efficient anti-aging protocol around lymphatic drainage and microcurrent, see our complete breakdown: How to Build a 10-Minute At-Home Anti-Aging Device Routine.
Expected Results: A Realistic Timeline by Skin Concern
Setting accurate expectations prevents abandonment — the most common reason home beauty device routines fail. Here’s what the research and clinical experience actually support:
| Concern | First Visible Change | Stable Improvement | Notes |
|---|---|---|---|
| Morning facial puffiness | Session 1–3 | 1–2 weeks daily use | Fastest-responding concern |
| Under-eye bags (fluid-based) | 3–5 sessions | 3–4 weeks | Structural bags require RF/EMS |
| Jawline definition | 2–3 weeks | 6–8 weeks | Combine with microcurrent for best results |
| Skin brightness / glow | 1 week | Ongoing with consistency | Improved micro-circulation |
| Cheek lift / contouring | 4–6 weeks | 3 months | Requires EMS/microcurrent component |
Who Should Avoid At-Home Facial Lymphatic Drainage Devices?
While this routine is safe for most adults, specific contraindications apply:
- Active skin infections, open wounds, or active acne cysts: Device use can spread bacteria across the skin surface. Wait until healed.
- Rosacea in flare: Mechanical pressure and electrical current can trigger vasodilation. Use only when rosacea is in remission, and avoid the nose and central cheek zones.
- Thyroid conditions: Avoid the anterior neck area for any device when you have an unmanaged thyroid disorder — the lymph chain along the neck overlaps with thyroid tissue.
- Pacemakers or metal facial implants: EMS and microcurrent devices are contraindicated. Stick to manual gua sha or jade rollers.
- Pregnancy: Electrical devices are generally contraindicated in the first trimester. Consult your OB-GYN before using EMS or microcurrent devices at any stage.
- Recent Botox or filler (within 2 weeks): Mechanical pressure and EMS can migrate product. Wait a minimum of 14 days post-injection before resuming device use.
FAQs About How to Do a Full Face Lymphatic Drainage Routine with Beauty Devices
How long should a full-face lymphatic drainage routine take?
An effective full-face session takes 7–10 minutes. Anything shorter skips critical zones; anything longer risks overstimulation of the lymphatic capillaries, which can cause temporary increased puffiness. The neck drain at the end should take at least 90 seconds on its own.
Can I do lymphatic drainage with a gua sha every day?
Yes — daily use with a gua sha is both safe and beneficial, provided you maintain feather-light pressure. The lymphatic system benefits most from consistent, low-intensity stimulation rather than occasional deep sessions. The one exception: if your skin shows prolonged redness (lasting 30+ minutes post-session), reduce to every other day and lighten your pressure significantly.
Does lymphatic drainage actually remove puffiness, or is it just temporary?
The immediate result (within 15–30 minutes post-session) is temporary fluid redistribution. However, regular daily practice over 3–4 weeks produces a structural reduction in baseline facial edema, as documented in lymphedema research using ultrasound to measure subcutaneous fluid volume. You’re training your lymphatic network to clear more efficiently — not just moving fluid around once.
Can I use the same device routine for both lymphatic drainage and anti-aging lifting?
Yes, and this is the most efficient approach. Devices like the NICEMAY LumiLift Pro that combine microcurrent, EMS, RF, and LED allow you to layer drainage strokes with lifting stimulation in the same session. The protocol is identical — you follow the same outward-then-downward drainage pathways — but you add the 3–5 second holds at key lift points and use the microcurrent/EMS modalities for muscle tone.
How do I know if I'm using the right amount of pressure?
The benchmark: your skin should visibly move but the tissue beneath should not. If you press your finger on your cheek and push — but feel your cheekbone pushing back — you’re too deep. A common real-world test is to glide your device over the back of your hand: the skin surface should move like a slow wave, without any redness appearing within 5 seconds of release. If redness appears, reduce pressure by at least 50%.
Please fill in your email in the form and we’ll get back to assist you soon!