

How to Use a Facial Gua Sha Tool for Jawline Sculpting?


How to Use a Facial Gua Sha Tool for Jawline Sculpting?
Step 1: Prep Your Skin and Tool

Gua sha on dry skin generates friction that micro-tears the epidermis. You need 3–4 drops of a face oil with a viscosity low enough to let the stone glide without tugging, jojoba and squalane both work, while thicker creams like shea-based moisturizers reduce your control over the tool’s angle.
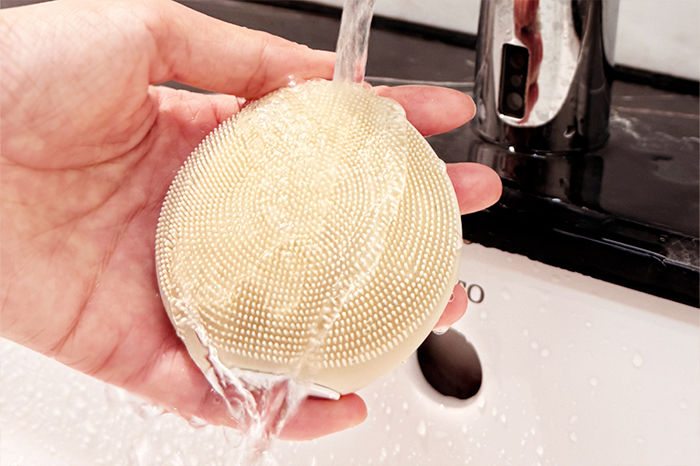
Cleanse your face and hands before you apply oil. Residual SPF, makeup, and sebum mix with the oil and drag bacteria along the strokes. Rinse your gua sha tool with cool water, not hot, since thermal shock can crack jade or rose quartz over time.
Tool edge selection matters. Your gua sha’s notched or double-curved concave edge is for the jawbone. The long flat edge handles the neck and under-chin. Using the wrong edge forces you to compensate with pressure, which bruises rather than drains.
| Skin Condition | Recommendation |
|---|---|
| Active acne or open wounds | Skip gua sha entirely until healed |
| Recent Botox or fillers (under 4 weeks) | Wait; pressure can migrate filler |
| Rosacea flare-up | Use the flat edge only, with zero pressure |
| Normal or dry skin | 3–4 drops lightweight facial oil |
Step 2: Open the Lymphatic Pathway (Neck Flush First)

Estheticians spend 2–3 minutes on neck preparation before touching the jaw, and home users skip it 90% of the time. Skipping it means the fluid you displace from your jaw has nowhere to go. You push congestion into the tissue rather than flushing it out.
Place the long flat edge of your tool at the base of your collarbone. Sweep upward to the jaw, five strokes per side. Then reposition to the base of your skull and sweep down the side of your neck to the collarbone, clearing the lateral lymph chain. These two directions, up from the collarbone and down from the skull, open the drainage channel so the jaw work sends fluid out of the face rather than pooling it.
Pressure for neck prep: lighter than jaw work. The lymph nodes in your neck sit just 2–5mm beneath the skin. You do not need force to stimulate them.
Step 3: The Jawline Sculpting Technique

Anchor the skin at the center of your chin with two fingers of your free hand. This prevents the skin from dragging and keeps the strokes targeted to the bone rather than pulling the dermis sideways.
Position the concave or notched edge of your gua sha so it hugs the jawbone. Tilt the tool to approximately 15 degrees from flat against your skin. At 45 degrees or steeper, the edge scrapes rather than compresses, and you generate friction instead of lymphatic movement.
Apply light to medium pressure and glide from your chin along the jawbone to your earlobe in one continuous stroke. At the earlobe, give the tool a small vibrating wiggle for two seconds to stimulate the parotid lymph node cluster at that location. Complete 5–7 strokes on one side before switching.
Pressure calibration: a 2019 review in the Journal of Traditional Chinese Medical Sciences noted that therapeutic gua sha for facial tissue targets a pressure range of 100–150g. You can calibrate this by pressing your tool against a kitchen scale until it reads 100g, memorizing what that feels like in your hand.
For readers comparing manual and device-assisted options, Manual Gua Sha vs Electric Microcurrent Gua Sha – Same Results? breaks down the output differences in measurable terms.
Step 4: Under-Chin (Submental) Release

Fluid accumulates under the chin in the submental space, the primary driver of the soft, undefined jawline and early double-chin appearance. The flat long edge of your gua sha addresses this area, which your jawbone stroke cannot reach.
Place the flat edge against the soft tissue directly beneath your chin. Sweep outward toward the base of the ear, 5–7 strokes per side. Keep the pressure moderate; the tissue here is thinner and more reactive than along the jawbone.
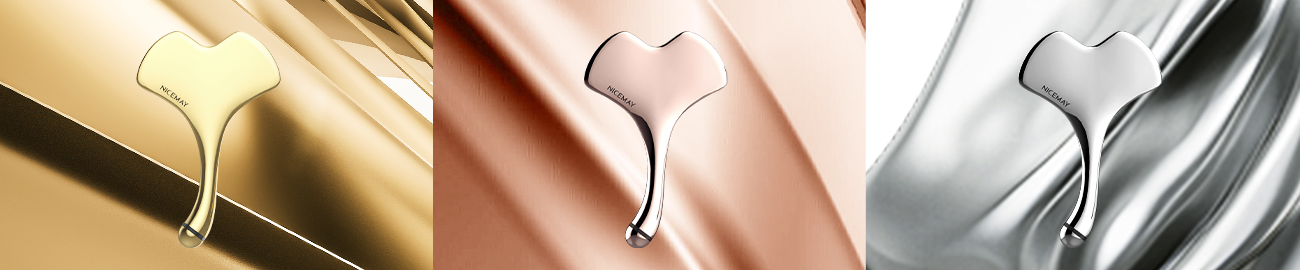
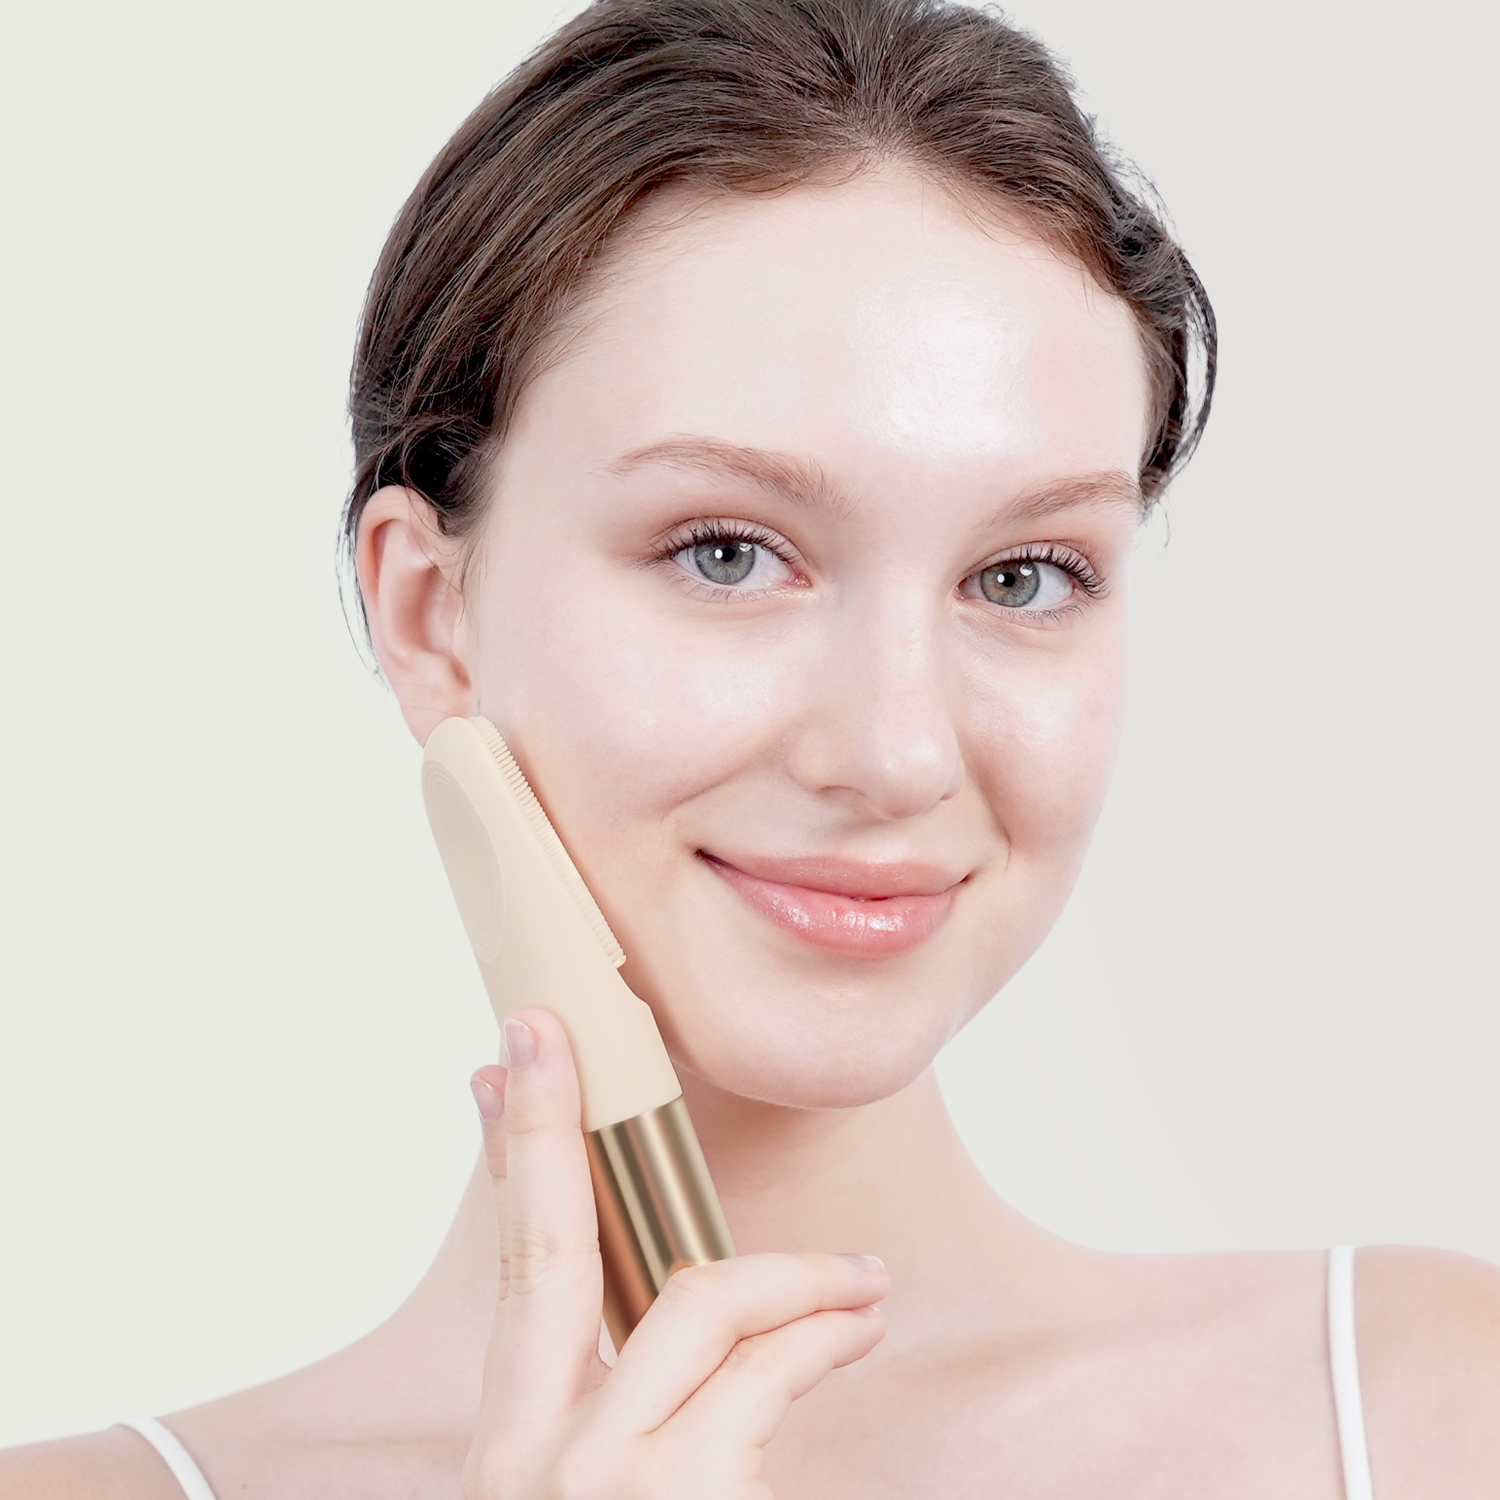
If you carry consistent submental fullness and want to add microcurrent to your routine for deeper muscle re-education, the NICEMAY MR-2338 Microcurrent Gua Sha Facial Massager combines EMS current (with adjustable intensity from 100–600μA) with a gua sha-shaped head, so you perform the drainage stroke and the muscle lift in the same pass. The device outputs a biphasic waveform, which matters for safety: uniphasic microcurrent used beyond 15 minutes per session can fatigue facial muscles rather than tone them.
Step 5: Final Drainage Sweep
Drain everything you mobilized. Position the tool just behind your earlobe and sweep down the side of your neck to the collarbone, 3–5 strokes per side. Without this final step, the fluid you shifted from your jaw stalls in the neck and reabsorbs. You lose the contouring benefit within 4–6 hours.
This is the step most tutorials illustrate but fail to explain mechanically. The lymphatic vessels in the neck carry fluid toward the subclavian vein at the collarbone. Your downward sweep follows that direction and uses gravity to assist clearance.
Pressure, Frequency, and Realistic Results Timeline
Pressure: 100–150g, confirmed by scale calibration once so you retain the muscle memory.
Frequency and timeline:
| Frequency | Expected Result |
|---|---|
| Daily, 3–5 minutes | Visible morning puffiness reduction within 5–7 days |
| Every other day | Sustained jawline definition visible in photos at 4–6 weeks |
| 3x per week | Maintenance after initial 6-week protocol |
Bruising means you pressed too hard or used the wrong edge angle. A purple or red petechiae mark after gua sha is not a cleansing reaction; it is broken capillaries. Reduce pressure and verify your tool angle before the next session.
For readers evaluating whether to pair gua sha with an energy device, Facial Gua Sha vs. Microcurrent vs. RF Devices – Ultimate Guide compares the mechanism, depth of effect, and recommended combination protocols for each modality.
Common Mistakes That Eliminate Results
Skipping the neck flush. Fluid displaced from the jaw needs an open pathway. Without the collarbone-to-jaw warm-up stroke, you push congestion around rather than out.
Using gua sha on inflamed skin. Gua sha increases local circulation by 400% in treated tissue (per a 2007 study published in Explore: The Journal of Science and Healing). On inflamed or acne-prone skin, that circulation spike spreads bacteria and worsens breakouts.
Inconsistent tool angle. Going above 30 degrees shifts the mechanical action from lymphatic compression to superficial scraping. You remove this feedback loop by pressing your tool flat on your forearm and feeling the difference between 15-degree and 45-degree contact before applying it to your jaw.
Stopping at two weeks. Lymphatic drainage and early tissue response show up in week one. Visible jawline reshaping from regular gua sha requires 6–8 weeks of consistent practice for most users over 35, where tissue laxity reduces the speed of visible change.
Conclusion
Jawline gua sha produces measurable change when you maintain a 15-degree tool angle, complete the neck flush before jaw strokes, and close every session with the drainage sweep to the collarbone. Users who skip the preparation and drainage steps see minimal results and conclude the tool does not work. The protocol above takes 5 minutes when you know the sequence.
For sustained jawline definition, pair manual gua sha with a microcurrent device like the NICEMAY MR-2338 to add the muscle-toning dimension that drainage alone cannot provide. Commit to 6 weeks before evaluating your results.
FAQs About How to Use a Facial Gua Sha Tool for Jawline Sculpting
Can gua sha permanently sculpt the jawline?
Does the material of the gua sha tool matter (jade vs. rose quartz vs. stainless steel)?
Can I use gua sha if I have Botox or filler?
Should I do gua sha in the morning or evening?
Can I use an electric microcurrent gua sha instead of a manual one?

Please fill in your email in the form and we’ll get back to assist you soon!