Straight lashes that refuse to hold a curl aren’t a lost cause — they just need a smarter approach. Most tutorials teach you the basics of a heated curler, but skip the part that actually matters: why straight lashes fall flat within an hour, and exactly how to fix it. The answer lies in heat timing, mascara chemistry, and a two-stage curling technique that works even on the most resistant Asian, fine, or pin-straight lashes. This guide gives you a precise, step-by-step method — including temperature ranges, hold times, and the one product combination that locks the curl all day.
Why Standard Curlers Fail on Straight Lashes?
A traditional clamp curler bends the lash mechanically without any heat. The lash fiber temporarily deforms but snaps back to its natural shape within hours — sometimes within minutes if you have naturally oily lids or fine, low-porosity hair.
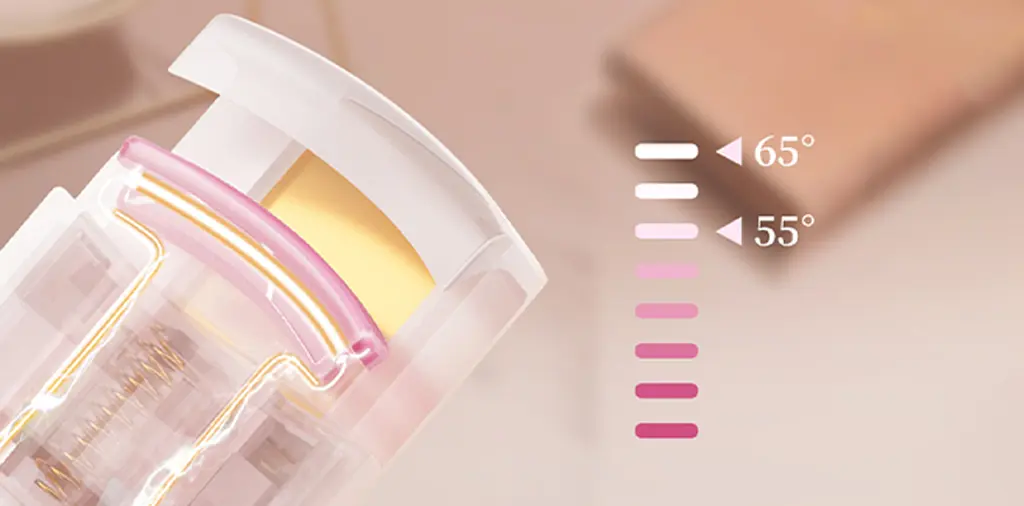
Heated curlers work differently. When the wand reaches 70–90°C, it softens the keratin protein structure inside each lash, allowing it to be re-shaped under gentle pressure. As it cools, the lash “sets” in the new curved position — the same principle behind a professional lash lift (which uses chemical softeners at a lower temperature to achieve the same protein restructuring).
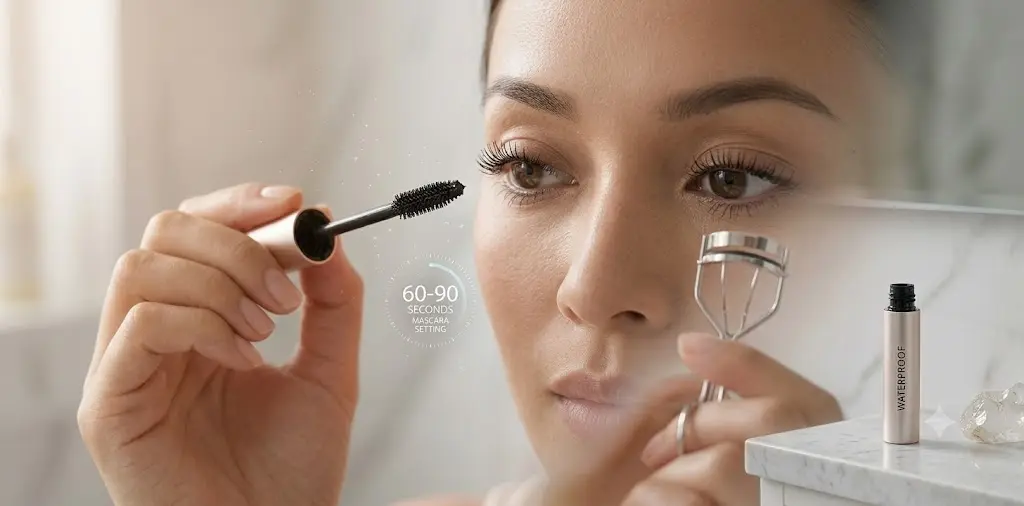
The critical mistake most people make: using a heated curler on bare or wet lashes. Without mascara, there’s nothing to hold the re-shaped lash in place once the heat dissipates. Mascara — particularly waterproof formulas — acts as a polymer scaffold that holds each lash fiber in its newly curled shape while it cools.
If you’ve tried a heated curler before and been disappointed, this timing-and-layering method is almost certainly what was missing.
Optionally: a clear lash setting gel for the final lock
Step-by-Step: The Two-Stage Method for Stubborn Straight Lashes
Step 1: Apply Mascara First — and Let It Fully Dry
Apply one to two coats of mascara, starting from the root and wiggling upward. Waterproof formulas are non-negotiable for straight lashes. Regular mascara contains water-soluble polymers that re-soften when heat is applied, creating smearing and an uneven curl. Waterproof mascara uses film-forming agents (typically isododecane or silicone-based resins) that remain rigid under gentle heat — exactly what you need to lock the shape.
Wait a full 60–90 seconds, not just until it looks dry. Premature heating of still-tacky mascara is the single biggest reason people get uneven, clumpy results with a heated curler.
Step 2: Preheat the Wand Properly
Turn on your curler and allow 15–30 seconds of warm-up time before use. Most quality heated curlers operate between two and three heat settings; for stubborn, resistant lashes, start at medium and increase only if needed.
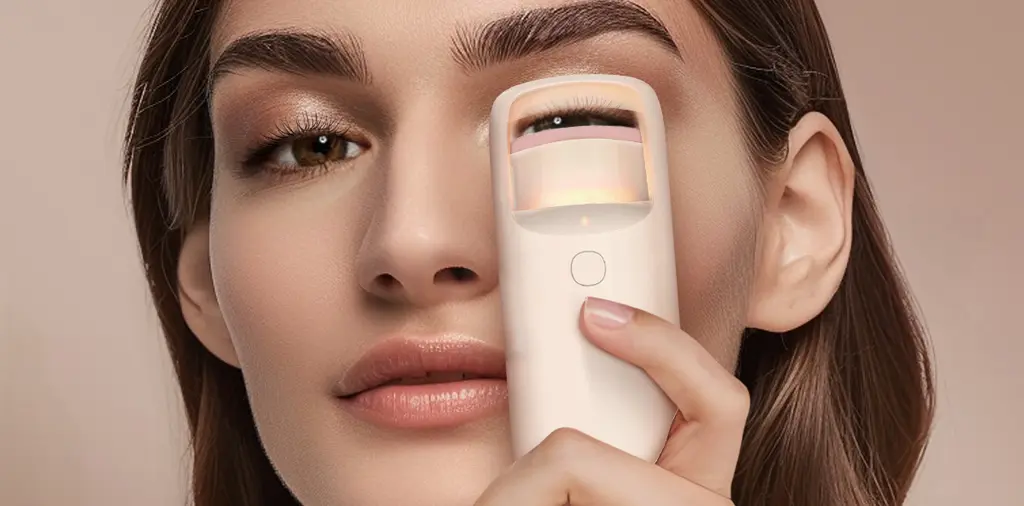
A reliable option for this step is the NICEMAY MR-2117 Heated Eyelash Curler, which features precise temperature control and an ergonomic comb head that separates lashes as it curls — minimizing the clumping that plagues thicker mascara applications. Its rapid heat-up means you’re working within 20 seconds of switching it on.
Temperature check tip: Hold the wand near (not on) the back of your hand. It should feel warm, not hot. If it’s too hot to hover near skin for 2 seconds, it will damage lash fibers.
Step 3: Press and Hold at the Root — 10 to 15 Seconds
This is the step most tutorials rush. Place the warm wand at the very base of the lashes, as close to the lash line as safely possible. Press gently backward (toward the lid) and hold for 10–15 seconds without moving.
This base-hold is what creates the structural “anchor” for the curl. Without it, lashes may lift but will look straight again after a few hours because the root — the thickest, most resistant part of the lash — was never properly shaped.
Step 4: Glide Slowly to the Midpoint, Then to the Tips
After the root hold, slowly roll the wand from the base upward in two distinct passes:
Pass 1: Move to the midshaft (halfway up the lash) and hold for 5–8 seconds
Pass 2: Continue to the tips and hold for 3–5 seconds
This graduated technique creates a natural, fanned-out curl rather than a sharp bend at one point. The tip hold is shorter because lash ends are finer and heat faster.
Step 5: Lock the Curl with a Topcoat
Immediately after curling — while the lashes are still in their lifted position — apply a thin layer of clear lash gel or a second coat of mascara. This seals the curl before the lash fibers fully cool and return to their resting state.
Think of this step like finishing a blowout with hairspray. Without it, the curl may last 4–6 hours; with it, most users with straight lashes see the curl hold for 10–12 hours.
Comparing Heated Curler Techniques: One Pass vs. Two-Stage
Mistake 1: Curling before mascara is dry. Wet mascara reactivates under heat and sticks the comb to your lashes. Always wait the full 60–90 seconds.
Mistake 2: Using maximum heat every time. Excessive heat (above 100°C) causes protein denaturation — lashes become brittle and break off. Medium heat with longer hold time is safer and equally effective.
Mistake 3: Skipping the root hold. The root is where straight lashes “remember” their shape. If you don’t hold here for at least 10 seconds, the curl will pivot from the midshaft and look sharp rather than natural.
Mistake 4: Rushing the topcoat. Applying setting gel too slowly means the lash has already begun cooling in a downward direction. Work immediately after the final pass while the curl is still active.
FAQs About How to Use a Heated Eyelash Curler on Stubborn Straight Lashes
Can I use a heated eyelash curler every day?
Daily use is generally safe if you stay within the recommended temperature range (70–90°C) and give lashes a break once or twice a week. Using the device at too-high a heat setting daily accelerates keratin degradation, which can make lashes thinner over time. If you notice increased lash fallout, reduce frequency to every other day.
Why does my curl drop after a few hours even with a heated curler?
The most common causes are: (1) using regular mascara instead of waterproof, (2) not holding the root long enough (under 10 seconds), or (3) skipping the topcoat lock step. Oily lids can also break down mascara film faster — in that case, apply an eyelid primer before mascara.
Is it safe to use a heated curler with eyelash extensions?
No. Heat weakens the cyanoacrylate-based adhesive used in extensions, causing them to detach. Stick to clean mascara and manual-curl techniques if you have extensions.
What's the difference between a heated eyelash curler and a lash lift
A lash lift uses a chemical solution (ammonium thioglycolate or a gentler cysteamine-based formula) to break and re-form the disulfide bonds in lash keratin — a permanent change that lasts 6–8 weeks. A heated curler achieves a temporary version of the same effect daily, using heat to soften (not chemically alter) the protein structure. Neither is better — they serve different needs and budgets.
Do heated curlers work on lashes that have never held a curl before?
Yes, but consistency matters. Lashes that have been chemically straightened or are extremely fine may need 2–3 weeks of daily use with the two-stage technique before the curl duration significantly improves. The lash fibers gradually “train” to sit in the lifted position, similar to how hair texture responds to regular heat styling over time.