


How to Use Microcurrent Around Sensitive Eye Areas Safely?


Why the Eye Area Needs a Different Microcurrent Protocol?
The Safe μA Range and Waveform: What Separates Risk from Results

Not all “microcurrent” is created equal, and the waveform matters as much as the amplitude. Look for these three specifications before buying:
- Current range: 20–200 μA for facial use; reputable eye-specific devices typically run 20–80 μA, well below the threshold where users report discomfort
- Waveform type: Biphasic (alternating polarity) current is essential — it prevents the unidirectional ion buildup that monophasic, single-direction current can cause, which is the documented mechanism behind reports of skin irritation and, with prolonged misuse, muscle desensitization
- Auto shut-off / skin contact sensors: Devices without continuous skin-contact detection can deliver current even when not properly seated, increasing the risk of localized overstimulation
This is precisely the failure mode behind viral claims that “microcurrent devices cause facial sagging after three months.” In nearly every documented case I’ve reviewed, the culprit is a cheap monophasic device with no auto shut-off, used daily instead of the recommended 3–4 times weekly, overworking the muscle without adequate recovery — similar to how a hairline stress fracture occurs from too much repetition. Biphasic current with proper auto shut-off doesn’t carry this risk profile, which is the single biggest spec to confirm before any eye-area purchase.
Step-by-Step: How to Use Microcurrent Around the Eyes Safely

- Cleanse and apply conductive gel. Microcurrent does not transmit through dry skin or standard moisturizer — a water-based conductive gel is non-negotiable for both safety and efficacy.
- Set intensity to the lowest eye-specific level. Start at the device’s minimum setting for your first 2–3 sessions, even if the manual lists a higher “recommended” range.
- Glide, never press. Apply light, even pressure along the orbital bone — over the bone, not directly on the soft tissue beneath the lower lash line.
- Move outward and upward only. Inner to outer corner along the lower orbital, and outer to inner along the brow bone, mimics lymphatic drainage direction and avoids dragging delicate skin.
- Limit to 3–5 minutes per eye, 3–4 times weekly. More is not better; the muscle needs 24–48 hours of recovery between sessions for actual toning adaptation to occur.
- Remove gel residue and follow with SPF if used in daytime. Conductive gels can leave skin slightly more permeable for 30–60 minutes post-treatment.
Consistency over six to eight weeks — not intensity — is what produces visible lifting, because microcurrent works through low-level ATP stimulation in muscle fibers, a cumulative process rather than an instant one.
Common Mistakes That Cause Puffiness, Sagging, or Irritation
| Mistake | Real Consequence | Correct Approach |
|---|---|---|
| Using full-face intensity on eye zone | Lid heaviness, micro-nerve stimulation, temporary "fluttering" | Use dedicated eye mode, 30-40% lower intensity |
| Daily use without rest days | Muscle fatigue mimicking sagging after 8-12 weeks | 3-4x weekly with 24-48hr recovery |
| Dry application (no conductive gel) | Uneven current delivery, skin friction, irritation | Always apply water-based conductive gel first |
| Using on broken skin, styes, or active infections | Risk of spreading bacteria, delayed healing | Skip treatment until fully healed |
| Pairing with retinol same night | Increased transient redness and sensitivity | Separate microcurrent and retinol by 12+ hours |
The puffiness complaint is the most common one I hear, and it's almost always tied to either overuse or pressing too hard rather than gliding — both of which provoke a temporary inflammatory response that mimics fluid retention rather than the lymphatic drainage effect users are actually after.
How To Choosing the Right At-Home Device for the Eye Area?
Not every microcurrent tool is built for periorbital use — most are designed for the broader face and simply aren’t shaped or calibrated for the tight curve around the eyes. When evaluating a dedicated eye device, prioritize: a compact electrode head that follows the orbital contour, biphasic waveform, an intensity ceiling appropriate for thin skin (generally capped well under full-face settings), and a built-in timer that prevents accidental overuse.
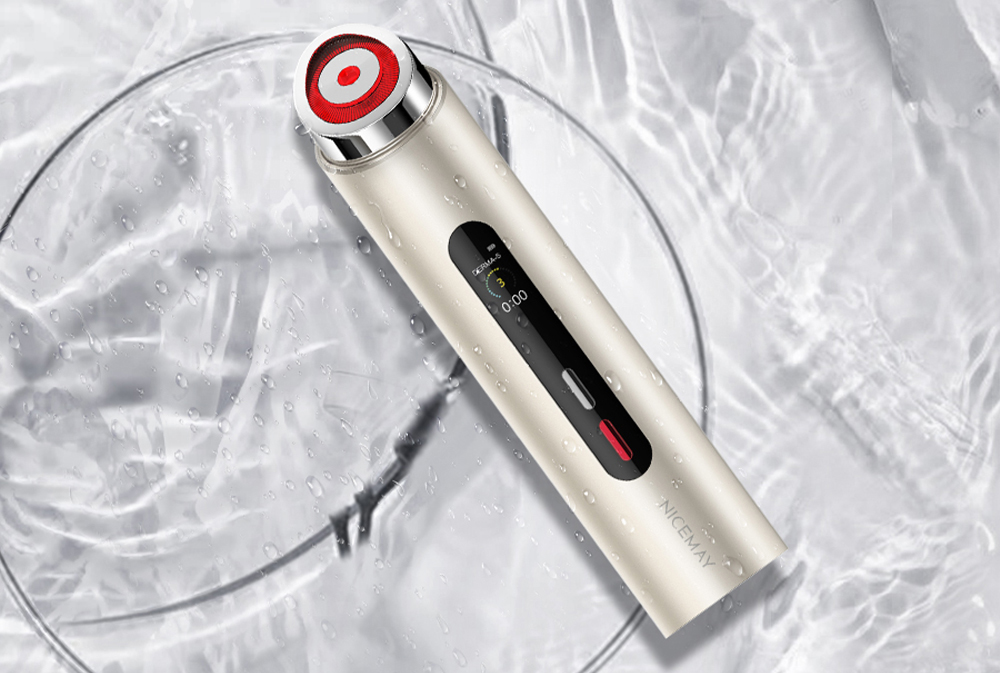
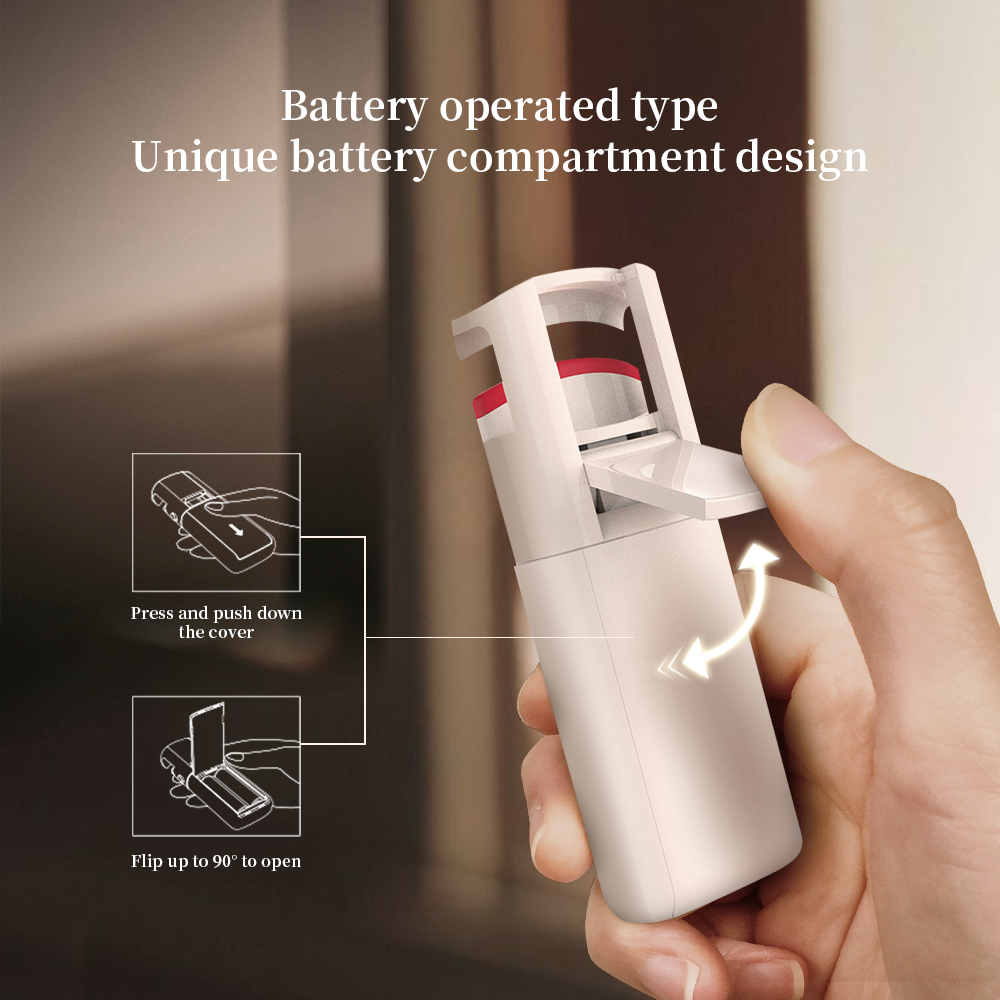
The NICEMAY MR-2622 Micro-Current Lifting Device for the Eyes is purpose-built around these exact constraints — its electrode design is shaped specifically to contour the under-eye and brow bone rather than adapted from a full-face tool, with intensity settings calibrated for thinner periorbital skin rather than borrowed from cheek or jaw protocols. For readers comparing options at this price point, the decision usually comes down to whether a device is eye-specific by design or a general facial tool with an “eye mode” bolted on — the former tends to deliver more predictable, comfortable results for this particular zone. If you’re still weighing several options side by side, our breakdown of The Top 10 Eye Beauty Devices for Dark Circles and Under-Eye Bags in 2026 compares specs, price tiers, and real-world performance across the category.

Combining Microcurrent with Serums, Retinol, and Active Ingredients
Realistic Results Timeline by Age Group
Expect different timelines depending on baseline skin elasticity and age-related collagen density:
- Ages 25–35: Subtle de-puffing and brightness often noticeable within 2–3 weeks; muscle-toning lift visible by week 6–8 with consistent 3–4x weekly use
- Ages 36–50: Initial de-puffing similar timeline, but visible lifting of hooded lids or crepiness typically requires 8–12 weeks due to reduced baseline collagen synthesis
- Ages 50+: Results are real but more gradual — 10–14 weeks is realistic for noticeable contour change, and combining with red light therapy (630–660nm) can meaningfully accelerate collagen-supportive outcomes by working through a complementary mechanism rather than overlapping current stimulation
Setting these expectations upfront prevents the most common reason people abandon devices early: judging results against a 2-week timeline when the actual physiological process needs 6–12 weeks minimum.
Microcurrent vs. EMS vs. Red Light for the Eye Area
These three modalities are frequently confused but work through entirely different mechanisms. Microcurrent mimics the body’s natural bioelectric current at low μA to stimulate ATP production in muscle fibers — it’s gentle and appropriate for daily-adjacent use on thin eye skin. EMS (electrical muscle stimulation) uses higher-intensity pulses to force visible muscle contraction, which is too aggressive for the delicate orbicularis oculi and is generally not recommended around the eyes without professional supervision. Red light therapy at 630–660nm penetrates the dermis to support collagen synthesis without any muscle stimulation at all, making it a complementary rather than competing technology. For a full breakdown of how these compare specifically for dark circles, see our guide: EMS vs. Red Light Therapy: Which Works Better for Dark Circles?
Conclusion
FAQs About How to Use Microcurrent Around Sensitive Eye Areas Safely
Can microcurrent make dark circles worse?
How often should I use microcurrent on my eyes?
Is it safe to use microcurrent if I have under-eye fillers
Most dermatologists advise waiting at least 2 weeks after filler injections before resuming microcurrent, since the gentle current and massage motion could theoretically affect filler placement during the initial settling period. Always confirm with your injector.
Can I use microcurrent and an LED eye mask on the same day?
Why does my under-eye feel tingly during treatment, and is that normal?

Please fill in your email in the form and we’ll get back to assist you soon!