Most people blame their microcurrent device when results plateau — but the real culprit is almost always poor skin prep. Electrical currents travel through water and ionic pathways in your skin; disrupt that pathway with oil residue, dead skin buildup, or dehydration, and you’re essentially running current through a broken circuit. This guide cuts through the noise and gives you the exact pre-session protocol that professional estheticians use to make every microcurrent treatment count.
Why Skin Preparation Is the Difference Between Results and Wasted Sessions?
Microcurrent devices deliver low-level electrical impulses — typically in the range of 200–400 microamperes (μA) — that mimic your body’s own bioelectrical signals to re-educate and tone facial muscles. The problem: your skin’s outermost layer, the stratum corneum, has very high electrical resistance. Oil-based barriers, dry skin, and product buildup can increase surface impedance dramatically, reducing current penetration depth by up to 60–70%.
What this means practically: even a premium device operating at the correct biphasic waveform delivers little more than surface stimulation if your prep is wrong. Professionals running microcurrent facials at $150–$300 per session spend 10–15 minutes on prep alone — for good reason.
The three pillars of effective microcurrent prep are: deep cleansing, internal hydration, and conductive medium application. Skip any one of them and you’re leaving results on the table.
Step 1: Pre-Session Planning (Start 3 Days Before)
Hydrate From the Inside Out
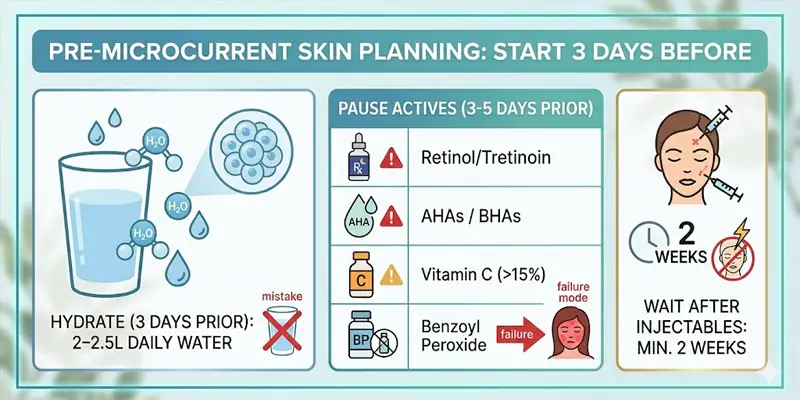
Well-hydrated cells conduct electricity significantly better than dehydrated ones. Intracellular fluid creates the ionic environment that microcurrent depends on. Aim for 2–2.5 liters of water daily in the 3 days leading up to your session — not just the day of.
A mistake I see consistently: people drink a large glass of water right before their session and expect the same benefit. Skin hydration doesn’t respond in minutes; it responds over 48–72 hours of consistent intake.
Pause Harsh Active Ingredients
Ingredient
How Long to Pause
Why
Retinol / Tretinoin
3–5 days before
Microcurrent drives ingredients deeper; retinoids cause severe irritation
AHAs / BHAs (chemical peels)
3–5 days before
Compromised barrier + electrical current = inflammation risk
Vitamin C (high-concentration L-ascorbic acid >15%)
A common failure mode here: users who apply a 0.1% tretinoin cream the night before a microcurrent session and then wonder why their skin is red and irritated for three days. The current drives active compounds beyond the epidermis into the dermis — an area retinoids should never reach at high concentration.
Wait After Injectables
If you’ve recently had Botox or fillers, wait a minimum of 2 weeks before scheduling a microcurrent session. Electrical stimulation causes muscle contractions and localized fluid movement that can migrate freshly injected product before it has fully integrated.
Step 2: Right Before the Session — The Cleansing Protocol
Choose the Right Cleanser
This is not the time for oil cleansers, balm cleansers, or micellar water used alone. These leave a thin lipid film on the surface that blocks conductivity.
Use a water-based, sulfate-free foam or gel cleanser with a pH between 4.5–5.5. This strips excess sebum and product residue without disrupting your skin’s acid mantle, which would compromise barrier integrity right before treatment.
Double-cleansing is the professional standard:
First cleanse: Remove SPF, makeup, and heavy product buildup
Second cleanse: True skin cleanse — take 60 seconds minimum and use light circular pressure
Dry Your Skin Completely — But Correctly
Pat (never rub) your skin completely dry with a clean towel. Residual tap water creates an inconsistent conductive medium, which causes uneven current distribution. More importantly, tap water contains minerals and chlorine that can interfere with the ionic environment the gel creates.
Wait 60–90 seconds after drying before moving to the next step, particularly in humid environments where skin absorbs ambient moisture.
Step 3: Conductive Gel Application — The Most Underestimated Step
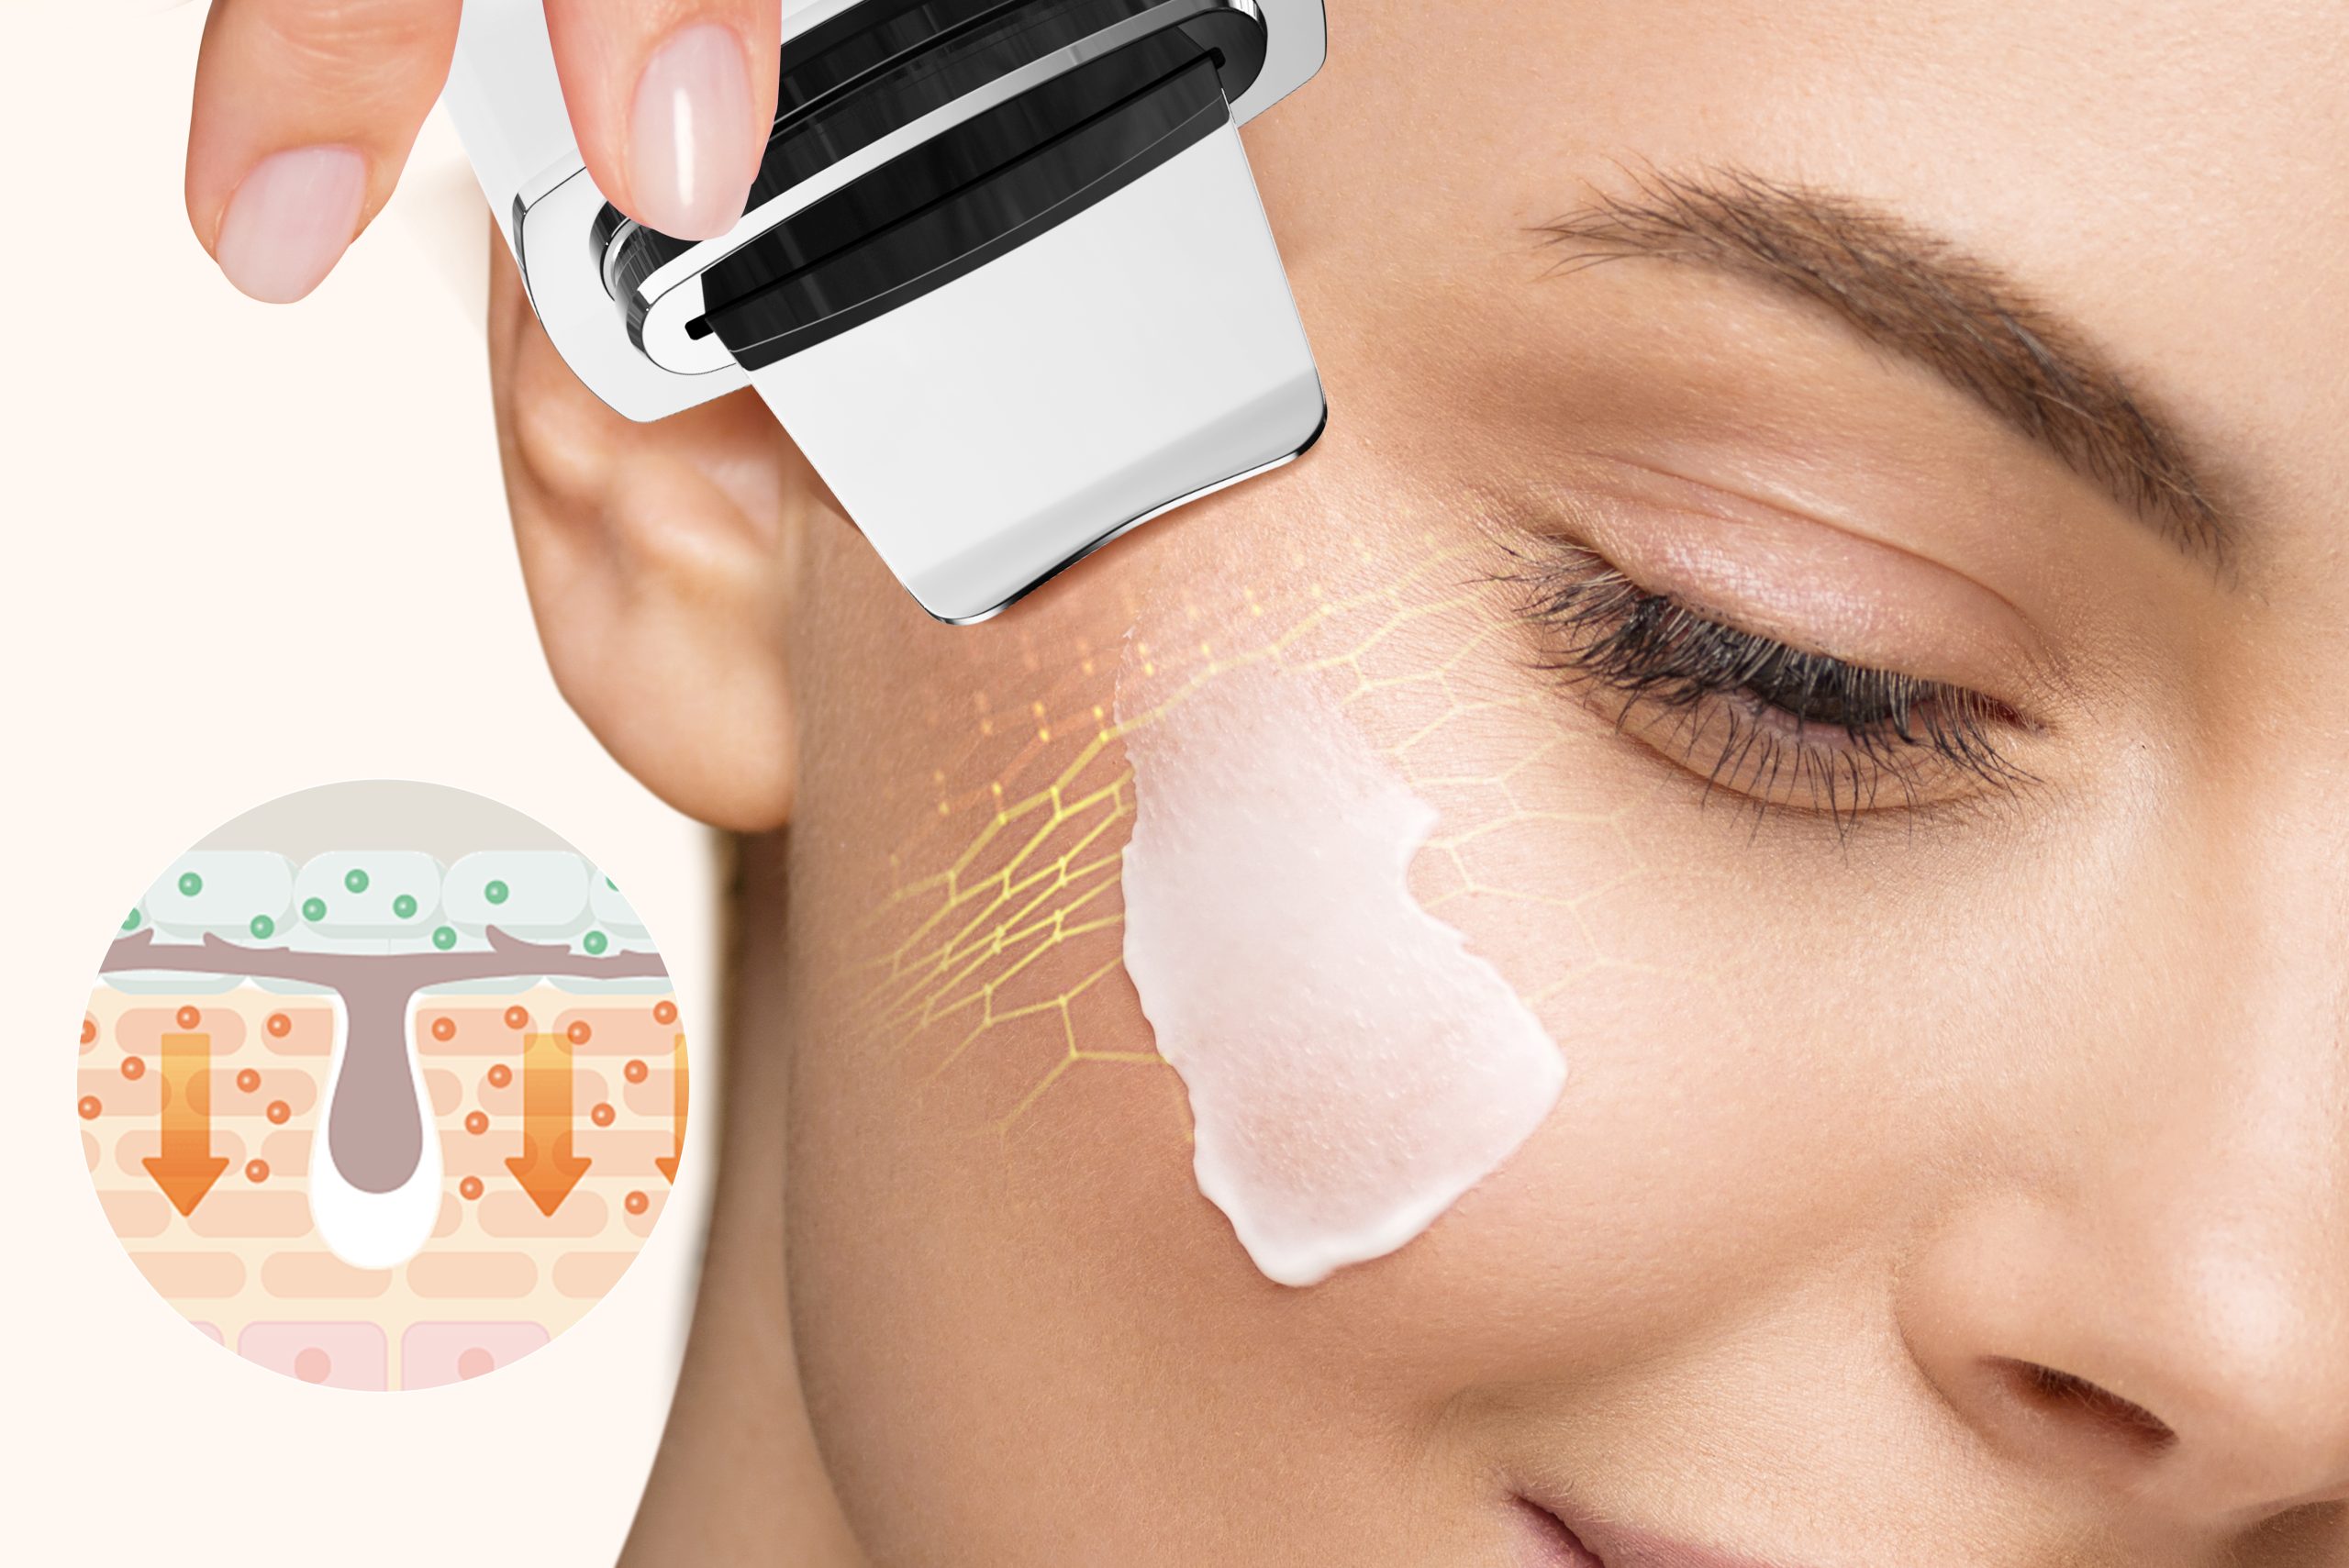
Microcurrent current travels through water. Without a proper conductive medium, the electrical pathway between device and facial muscle is broken — you’ll feel a stinging or prickling sensation (the current desperately seeking a pathway through dry skin) and achieve essentially no muscle re-education benefit.
Apply gel in a thick, mask-like layer — approximately 2–3mm depth. Thin applications evaporate during treatment, forcing you to stop and reapply, and creating dry patches that cause uneven toning.
What to Look for in a Conductive Gel
Water content >85%: The primary conductive medium
Hyaluronic acid or aloe vera base: Maintains hydration during the session
No alcohol, fragrance, or silicones: These impede current or cause irritation under electrical stimulation
pH 6.5–7.5: Near-neutral to match skin’s slightly acidic environment without disrupting it
Avoid petroleum-based or silicone-heavy “slip” serums — they look conductive but actually insulate the skin surface.
Step 4: Optional Enhancements That Elevate Your Results
Light Exfoliation the Night Before
Gentle enzyme exfoliation or a mild AHA (e.g., 5% lactic acid) used the evening before — not the day of — your session removes the dead cell buildup on the stratum corneum that raises surface resistance. This alone can improve current penetration noticeably.
Do not exfoliate the day of your session; a compromised, sensitized barrier plus electrical current is a recipe for redness.
Temperature Matters
A warm environment causes slight vasodilation, which increases tissue hydration and ionic conductivity. If your skin feels tight and cool before your session, apply a warm (not hot) damp towel for 30 seconds to your face before gel application. This is a trick professional estheticians use to prime the skin without disrupting the cleanse.
Choosing the Right Device: What Supports Proper Prep?
Even perfect prep can’t compensate for a device that delivers incorrect output. Look for these specifications:
Biphasic waveform: Delivers current in alternating positive/negative phases, which more accurately mimics the body’s natural ATP production pathway
Adjustable μA range: At-home devices should operate between 200–400μA; higher outputs without professional guidance risk muscle fatigue and paradoxical sagging
Built-in auto shut-off: Prevents overuse in a single session, which degrades muscle re-education gains over time
Compatible with water-based gel: Avoid devices marketed with oil-based “activators”
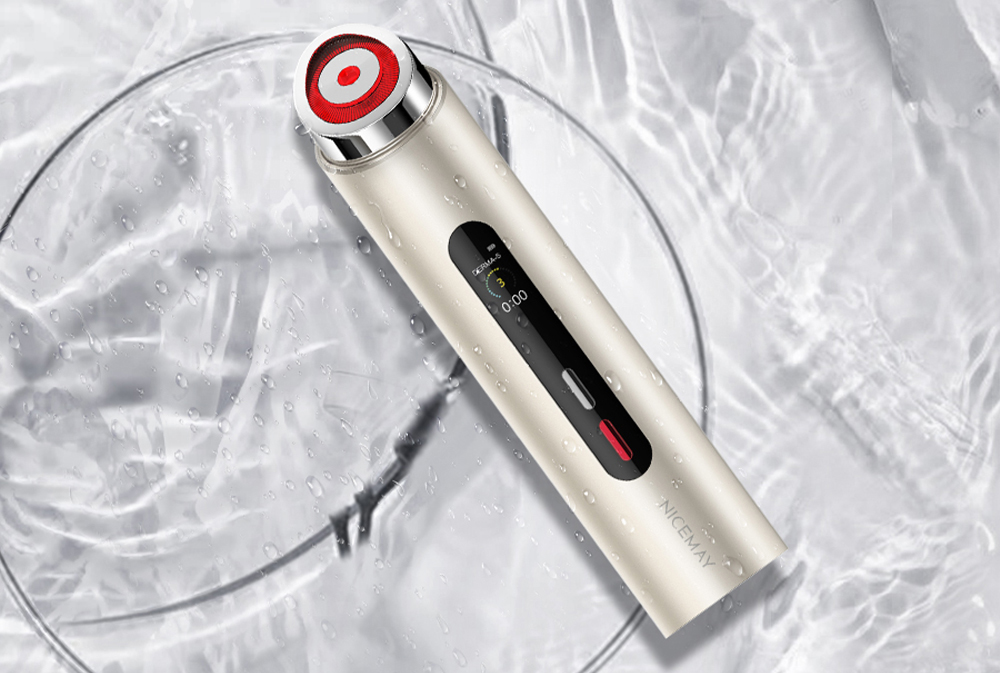
The NICEMAY MR-2319 Silver Facial Roller Microcurrent Toning Device is a well-designed at-home option that pairs effectively with proper prep. Its roller electrode design maintains consistent gel-to-skin contact pressure — a critical factor, since variable pressure is one of the top causes of uneven toning results at home. Used with the prep protocol in this guide, it delivers the kind of consistent conductive pathway that makes each session genuinely productive.
FAQs About How to Prep Your Skin Before a Microcurrent Session for Better Results
Can I apply toner or essence before the conductive gel?
No. Most toners — even hydrating ones — contain alcohol, witch hazel, or acidic compounds that alter skin pH and create an inconsistent conductive environment. Apply conductive gel directly onto clean, dry skin. The gel itself provides all the hydration your skin needs during the session.
My skin is oily. Should I skip the conductive gel since my skin already has moisture?
Sebum (skin oil) and water are fundamentally different substances. Sebum is lipid-based and is electrically insulating, not conductive. Oily skin still requires a thorough cleanse and a full conductive gel application — arguably more thoroughly than dry skin, because the oil barrier is more pronounced.
How soon after cleansing can I start my microcurrent session?
Wait until your skin is completely dry — typically 60–90 seconds after patting dry. Starting immediately while skin is still damp with tap water creates an uncontrolled conductive medium. Apply conductive gel right after this brief wait.
Can I use aloe vera gel instead of a dedicated microcurrent conductive gel?
Pure aloe vera gel (99–100% aloe, no additives) works reasonably well as a substitute in a pinch — it has high water content and a near-neutral pH. However, dedicated conductive gels are formulated with specific electrolyte profiles and viscosities optimized for device-to-skin contact. For best results, use a device-compatible gel; reserve aloe for occasional use only.
I have rosacea or sensitive skin — do I need to adjust this prep protocol?
Yes. Avoid any exfoliation the night before, use only fragrance-free, pH-balanced cleansers, and start with the device on its lowest current setting (usually 100–150μA). Monitor your skin for increased redness after your first session. If irritation occurs, extend the gap between retinoid pause and session to 7 days and ensure your gel is free from all potential sensitizers including aloe if you have known aloe sensitivity.